
Welcome to our comprehensive guide on how to thread a sewing machine. If you’re new to the world of sewing or just need a refresher, don’t worry – we’ve got you covered. Threading a sewing machine may seem like a complex task, but with our step-by-step instructions and helpful tips, you’ll be threading like a pro in no time. Whether you have a traditional sewing machine, serger, or even a computerized model, this article will provide you with all the essential information you need. So, grab your sewing machine, get ready to dive in, and let’s unravel the mysteries of threading together.
Key Takeaways:
- Introduction
- Threading Steps
- Troubleshooting Tips
- Maintaining Your Machine
- Exploring Further
- FAQS
Embarking on a Sewing Journey
The rhythmic whir of a sewing machine and the satisfying glide of fabric under your fingertips – sewing ignites creativity and empowers you to bring your visions to life. Whether you’re a seasoned sewist or a curious beginner, mastering the art of threading your machine unlocks a world of possibilities. This seemingly simple task is the cornerstone of successful stitching, ensuring smooth operation and flawless results.
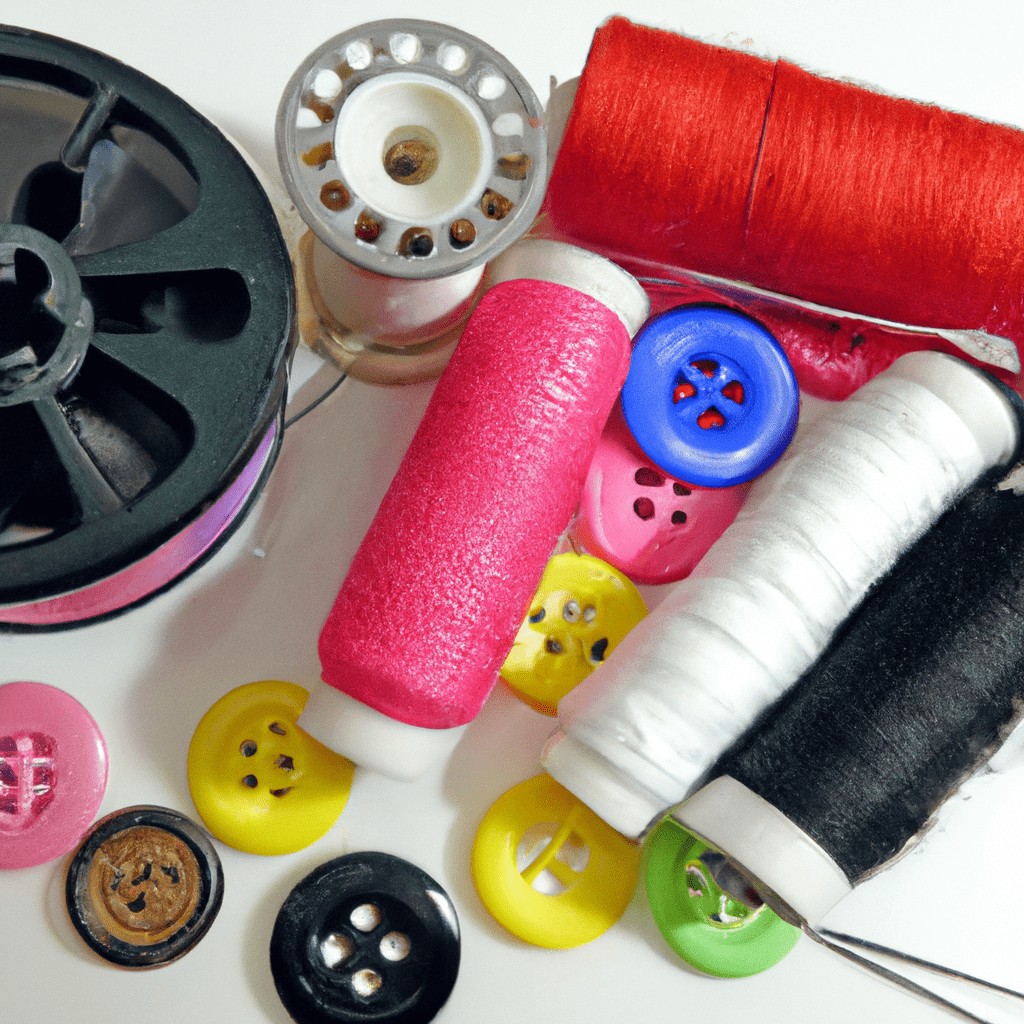
Knowing Your Tools and Materials For Threading Sewing Machine:
Before we dive into the threading process, let’s gather your essential tools:
- Sewing Machine: Familiarize yourself with your machine’s model and consult its manual for specific details. Different types like sergers or embroidery machines may have slight variations in their threading paths.
- Thread: Choose thread colors and weights suitable for your project. Opt for quality thread to avoid frustration with breaks or uneven stitches.
- Needle: Select the appropriate needle size and type for your fabric and thread weight. A universal needle is a good starting point, but consult your machine’s manual for specific recommendations.
- Bobbin: Pre-wound bobbins offer convenience, but self-winding allows you to match thread colors perfectly.
- Scissors: A sharp pair of scissors is essential for trimming thread and snipping fabric with precision.
- Optional Helpers: A seam ripper comes in handy if you need to undo stitches, while tweezers can assist with threading stubborn needles. A thread guide can also simplify the process for beginners.
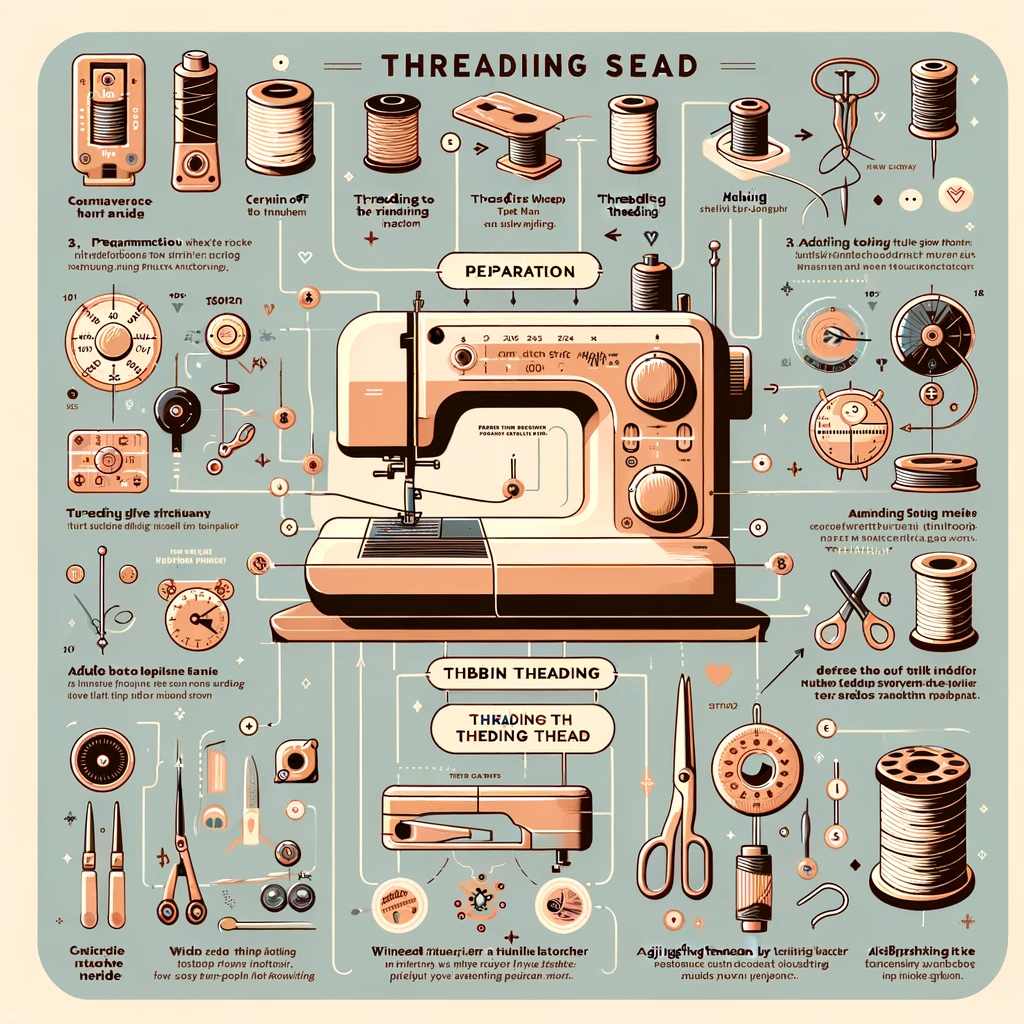
Threading with Confidence: Step-by-Step Guide
Now, let’s break down the threading process into manageable steps:
Preparation:
- Power Down: For safety, always turn off and unplug your machine before starting.
- Needle Up: Raise the needle to its highest position using the handwheel or button.
- Open Sesame: Access the bobbin compartment following your machine’s instructions. Remove any existing thread or bobbin case.
Threading the Top Thread:
- Spool Placement: Place the spool of thread on the spool pin, ensuring it unwinds counterclockwise. Most machines have arrows or guides to indicate the correct direction.
- Thread Path: Consult your manual for the specific thread guides and tension discs your machine uses. Generally, the thread will follow a designated path, looping around tension discs to create even stitching.
- Take-Up and Guide: Wrap the thread around the take-up lever and thread guide as specified in your manual. This lever plays a crucial role in regulating thread tension.
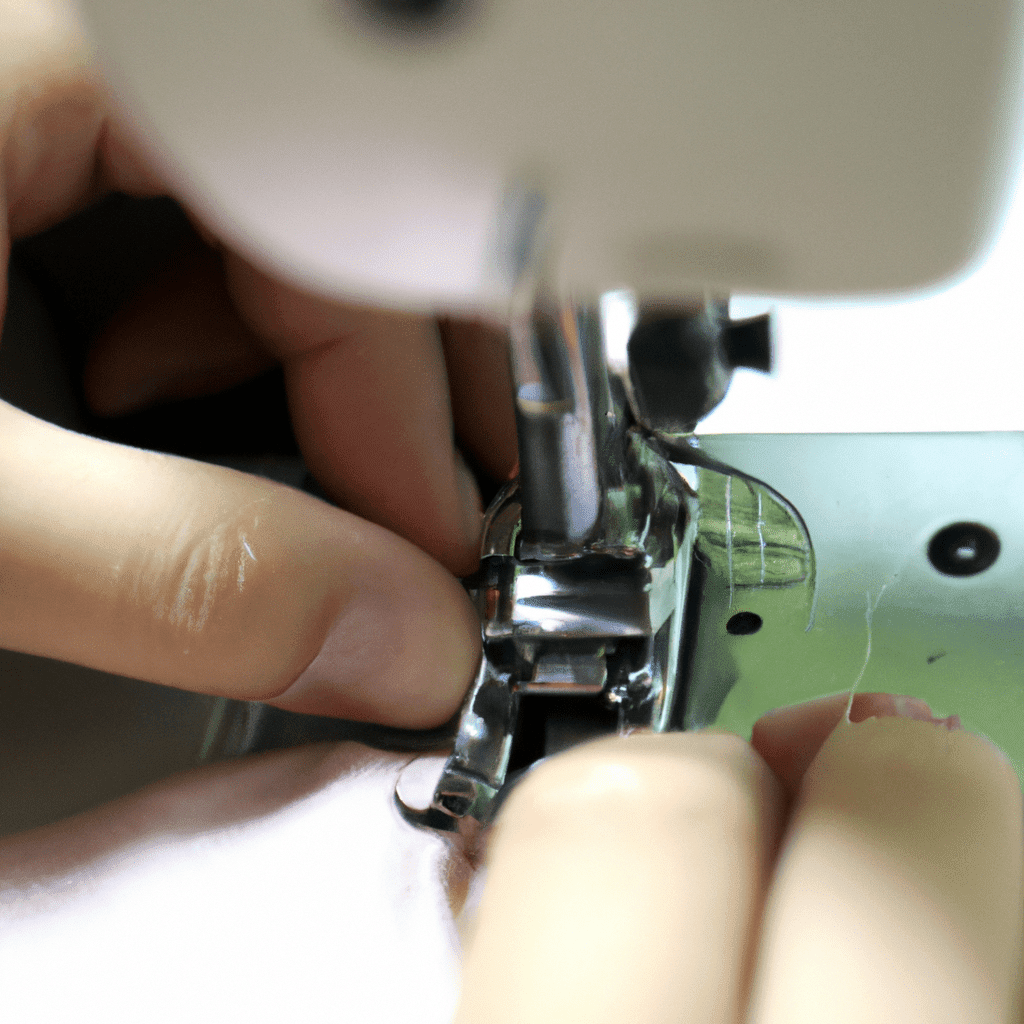
- Needle It: Thread the needle from front to back, ensuring the thread goes behind the needle. This might require holding the thread taut near the eye of the needle.
- Tail’s End: Pull the thread down to the bobbin compartment, leaving a tail of about 6 inches hanging loose.
Meeting the Bobbin:
- Winding Magic: If using an unwound bobbin, wind it using the machine’s bobbin-winding mechanism, following the manufacturer’s instructions. This usually involves inserting the bobbin and holding the end of the thread until it starts winding automatically.
- Bobbin Placement: Insert the bobbin into the bobbin compartment, ensuring it’s positioned correctly according to your machine’s manual. Some machines have a specific direction or click-in mechanism.
- Catching the Thread: Gently pull the bobbin thread up until it catches the upper thread, creating a small loop. You might need to use the handwheel to nudge the needle down slightly.
- Under the Presser Foot: Pull both threads back under the presser foot, holding them together to prevent them from retracting.
Troubleshooting Tips for Smooth Sailing
Even the most experienced sewists encounter threading hiccups sometimes. Here are some common issues and their solutions:
Tension Troubles:
- Loopy Stitches: If your stitches appear loose or loopy, adjust the upper thread tension by turning the tension dial slightly tighter. Consult your manual for specific instructions.
- Tight Stitches: Conversely, if your stitches look puckered or tight, loosen the upper thread tension slightly.
- Needle Threading Woes: If the thread struggles to pass through the needle’s eye, ensure it’s threaded correctly from front to back and behind the needle. You can also try using a larger needle size or a different type of needle suitable for your fabric.
Maintaining Your Sewing Machine for Longevity
Now that you’ve mastered the threading basics, let’s explore some essential maintenance practices to keep your sewing machine running smoothly for years to come:
Regular Cleaning:
- Thread Path: After each project, use a soft brush or compressed air to remove any lint, thread snippets, or dust accumulated in the thread path. This prevents thread jams and ensures smooth operation.
- Bobbin Compartment: Clean the bobbin compartment regularly to remove built-up lint and debris. Some machines have removable bobbin cases for easier cleaning.
- General Wipe-Down: Use a damp cloth (not soaked) to wipe down the exterior of your machine, removing any dust or fabric particles. Avoid using harsh chemicals or cleaners.
Oiling and Lubrication:
- Consult Your Manual: Refer to your machine’s manual for specific lubrication points and recommended oil types. Different models may have different lubrication requirements.
- Oiling Frequency: Generally, oil your machine once every few months or according to the manufacturer’s instructions. Over-oiling can be harmful, so follow the recommended amounts.
Proper Storage:
- Cover Up: When not in use, cover your machine with a dust cover to protect it from dust and debris.
- Needle Up: Store your machine with the needle in the raised position to prevent damage to the needle plate and fabric feed dogs.
- Environment: Choose a cool, dry place to store your machine, away from direct sunlight and moisture.
Exploring Beyond the Basics
Now that you’re comfortable with basic threading, don’t be afraid to experiment and explore different techniques:
- Decorative Threads: Use metallic, variegated, or textured threads to add a touch of flair to your projects.
- Twin Needle Sewing: Create decorative seams or parallel rows of stitching with a twin needle.
- Invisible Hemming: Master the art of invisible hemming for a professional finish to your garments.
- Blind Stitching: Learn blind stitching techniques for invisible repairs or closures.
Embrace the Journey
Sewing is a journey of creative expression and continuous learning. By mastering the basics of threading and maintaining your machine, you unlock a world of possibilities. Embrace the challenges, experiment with different techniques, and keep practicing. Remember, even the most experienced sewists encounter occasional threading hiccups. The key is to approach them with patience, troubleshoot effectively, and enjoy the process of crafting something unique and beautiful.
FAQs on Sewing Machine Threading:
How do I know if my sewing machine is threaded correctly?
Pull both threads gently. If they come out smoothly without resistance, you’re good to go!
My thread keeps getting stuck – what am I doing wrong?
Double-check that all guides and tension discs are engaged correctly. Ensure the thread isn’t twisted or knotted.
My tension seems off – how do I adjust it when threading?
Most machines have a tension dial near the thread path. Consult your manual for specific instructions. Start with small adjustments and test stitch results.
What are some common troubleshooting tips for specific threading problems?
Loopy stitches usually indicate loose tension; tighten the upper thread knob slightly. Conversely, tight stitches suggest high tension; loosen it slightly.
Can I use pre-wound bobbins from different brands with my machine?
Generally, yes, but pre-wound bobbin sizes and winding directions may vary. Check your machine’s manual for compatibility.
How do I adjust the timing of my sewing machine for different fabrics?
This requires advanced knowledge and tools. Consult your machine’s manual or a professional technician for instructions specific to your model.
What are some resources for learning about custom embroidery machine threading?
The machine’s specific manual is essential. Additionally, embroidery software often includes detailed threading instructions and tutorials.
Are there any safety precautions I should take when threading my machine?
Always unplug your machine before starting to thread. Keep fingers away from the needle while turning the handwheel.
Click here: if you are looking for the best Cyber Monday deals for sewing machines.
[…] either method, you’ll need to have some basic sewing supplies on hand, including a needle, thread, and fabric.If you’re using a machine, you’ll need to set your stitch length to a short […]
[…] is a unit of measurement that is used to determine the diameter of a thread. The higher the tex number, the thicker the thread. A sewing thread that is size 40/2 is equivalent […]
[…] you already know how to thread a needle and knot the thread, there are really only a few basic stitches you need to know in order to sew by […]
[…] you’ll want to use a thinner thread so it’s easy to work with. If you’re using a sewing machine, you can use a thicker thread without any […]