
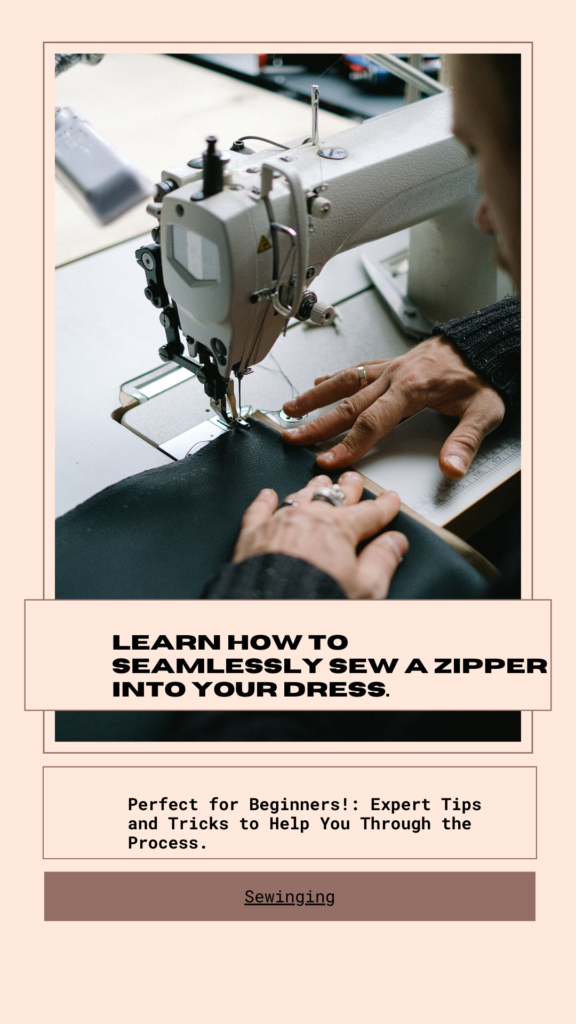
Mastering the art of installing a zipper into a dress is a pivotal skill for any dressmaker. This comprehensive guide delves into the nuances of various zipper types—ranging from invisible to exposed zippers—and the techniques to sew them flawlessly into your creations.
By honing this skill, dressmakers can elevate the functionality and aesthetic appeal of their dresses, ensuring a perfect fit and finish. Whether you’re working on a delicate silk dress or a sturdy cotton frock, understanding the intricacies of “how to sew a zipper into a dress” is essential for achieving professional-grade results.
Section 1: Understanding Zippers
In the realm of dressmaking, the choice of zipper can significantly impact both the functionality and aesthetics of a garment.
- Invisible zippers are often preferred for their seamless appearance, ideal for formal wear and dresses where the zipper should remain hidden.
- Coil zippers, made from nylon or polyester, offer flexibility and durability, making them suitable for everyday dresses that require frequent use.
- Metal zippers, with their classic appeal, add a touch of elegance to any dress, though they are more rigid than their coil counterparts.
For successful zipper installation, a dressmaker’s toolkit should include a sewing machine capable of attaching a zipper foot, a variety of needles suitable for different fabric types, and threads that match the color and weight of the dress fabric.
Additionally, a seam ripper, fabric markers, and measuring tape are indispensable for preparing the fabric and ensuring precise zipper placement. Understanding these essentials empowers dressmakers to choose the right type of zipper and tools, laying the foundation for “how to sew a zipper into a dress” with confidence and skill.
Section 2: Preparatory Steps
Before the needle ever pierces fabric, meticulous preparation is key to seamlessly integrating a zipper into a dress. Accurate measuring and marking are the cornerstones of precise zipper placement. Using fabric marker and measuring tape, carefully delineate the zipper’s intended path, ensuring symmetry and alignment with the dress’s seam.
Choosing the right zipper—whether invisible, coil, or metal—should harmonize with the dress’s design and fabric type. Preparing the fabric involves a thorough inspection for any adjustments before sewing and ensuring it’s free of wrinkles or folds that could hinder zipper installation.
Ironing the zipper itself is also a crucial step, particularly for invisible zippers, to remove any creases that could affect its final appearance. These preparatory measures are essential for mastering “how to sew a zipper into a dress,” setting the stage for a smooth sewing process.
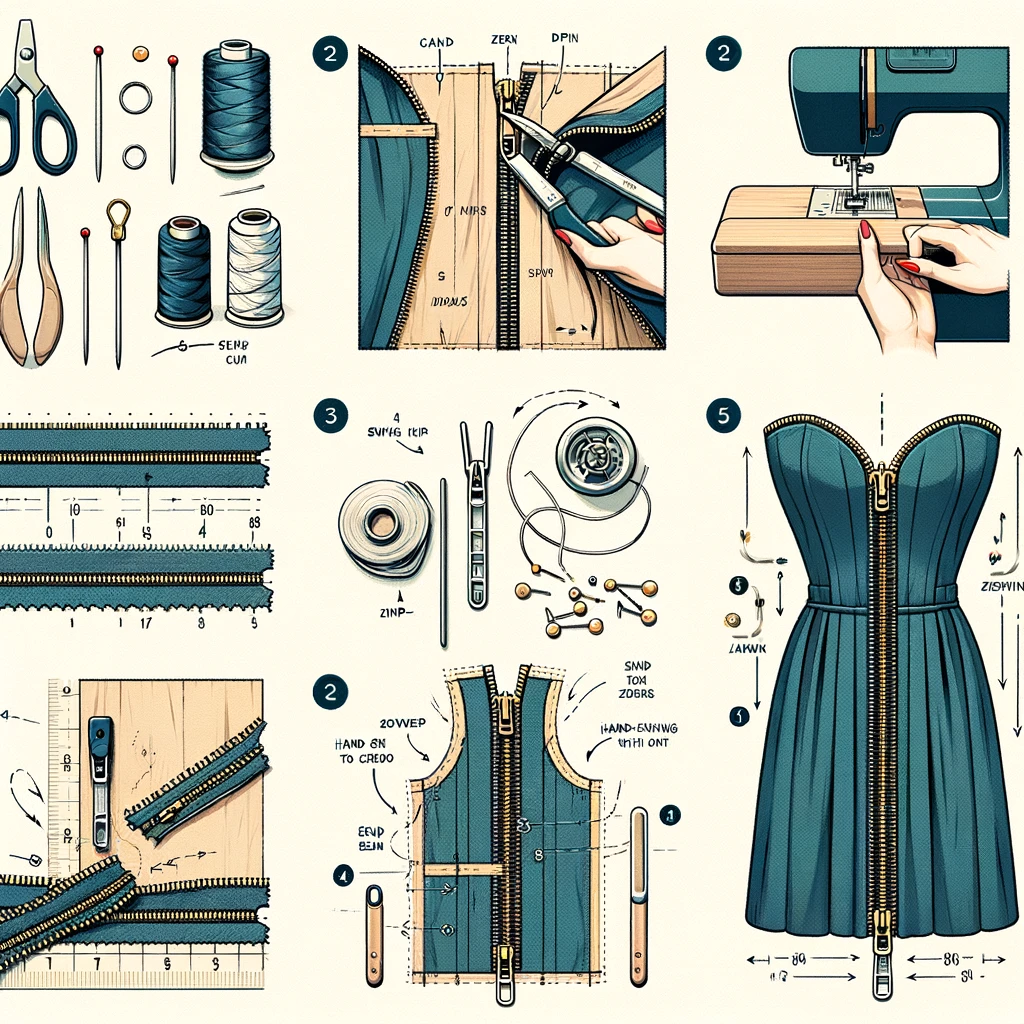
Section 3: Zipper Installation Techniques
Zipper installation is a crucial skill in dressmaking, with each technique offering its own set of advantages and challenges. Understanding these methods allows dressmakers to choose the best approach for their projects, enhancing both the garment’s functionality and aesthetic.
Centered Zipper Installation
Steps:
- Prepare the seam where the zipper will be installed, sewing it temporarily if necessary.
- Position the zipper face down on the seam allowance, aligning it with the seam line.
- Use a zipper foot to sew one side of the zipper tape to the seam allowance, then repeat on the other side.
- Carefully remove the temporary seam to reveal the zipper.
Invisible Zipper Installation
Steps:
- Iron the zipper and open it completely.
- Align the zipper’s right side with the fabric’s right side, ensuring the teeth’s coil is just beside the seam allowance.
- Sew close to the teeth with an invisible zipper foot, then repeat on the other side.
- Close the zipper to check alignment before sewing the rest of the seam.
Lapped Zipper Installation
Steps:
- Sew the seam below the zipper opening and press open.
- Place the zipper face down on the seam allowance, sewing it on one side.
- Fold the fabric to create the lap and topstitch close to the fold, covering the zipper.
Exposed Zipper Installation
Steps:
- Prepare the area where the zipper will be exposed by marking the placement clearly on the garment.
- Place the zipper right side up on the garment’s right side, aligning it carefully with the marks. Use pins to secure it in place.
- Sew around the edges of the zipper, ensuring the stitching is even and close to the zipper teeth. The goal is to secure the zipper while also making it a feature of the design.
- Finish the edges by sewing over the top and bottom of the zipper to prevent fraying and to ensure the zipper stays in place during use.
| Installation Technique | Pros | Cons |
|---|---|---|
| Centered Zipper | Creates a clean, symmetrical finish suitable for most dress styles. | Zipper tape is visible, which may not be preferred for more formal attire. |
| Invisible Zipper | Offers a seamless look with zipper teeth not visible, ideal for formal wear. | Requires precision, making it challenging for beginners. |
| Lapped Zipper | Adds a decorative element with the fabric lap covering the zipper. | More complex than other methods, requiring careful execution to ensure the lap covers the zipper properly. |
| Exposed Zipper | Serves as a bold, decorative feature on a garment, allowing for creative expression. | Not suitable for all dress types, especially those requiring a more traditional or formal appearance. |
Section 4: Detailed Guide to Sewing a Zipper into a Dress
Step 1: Pinning Seams

Begin by aligning the edges of the fabric where the zipper will be installed. Use the dressmaker’s pins to secure the fabric layers together, ensuring that the pins are perpendicular to the edge for easier removal. This step is crucial for maintaining fabric alignment throughout the sewing process, especially for materials that may shift or stretch. Pinning not only prepares the seam for sewing but also offers a visual guide for maintaining straight lines and even spacing.
Step 2: Baste Seam

After pinning, baste the seam where the zipper will be placed. Basting is a temporary stitching method used to hold fabric in place. Use a long stitch length on your sewing machine or hand-stitch with a needle and thread. This temporary seam allows for adjustments before final sewing and provides a guideline for zipper placement. Basting is essential for ensuring that the fabric layers stay aligned and that the zipper fits perfectly in its intended position.
Step 3: Press Open Seams

Once the basting is complete, carefully remove the garment from the sewing machine and press the seam open with an iron. Use a pressing cloth to protect delicate fabrics. This step is vital for creating a flat surface for the zipper installation. Pressing the seams open helps in aligning the zipper tape to the fabric’s edge and ensures a smooth finish. It eliminates any puckering that might occur during the sewing process, resulting in a professional-looking garment.
Step 4: Tape the Zipper in Place

With the seam pressed open, position the zipper face down against the seam allowance. Use a low-tack tape (like painter’s tape) to secure the zipper in place temporarily. This method allows for adjustments and ensures that the zipper doesn’t shift during sewing. Taping is especially helpful for invisible zippers, as it keeps the zipper teeth aligned and flat against the fabric, facilitating a seamless finish once the zipper is sewn.
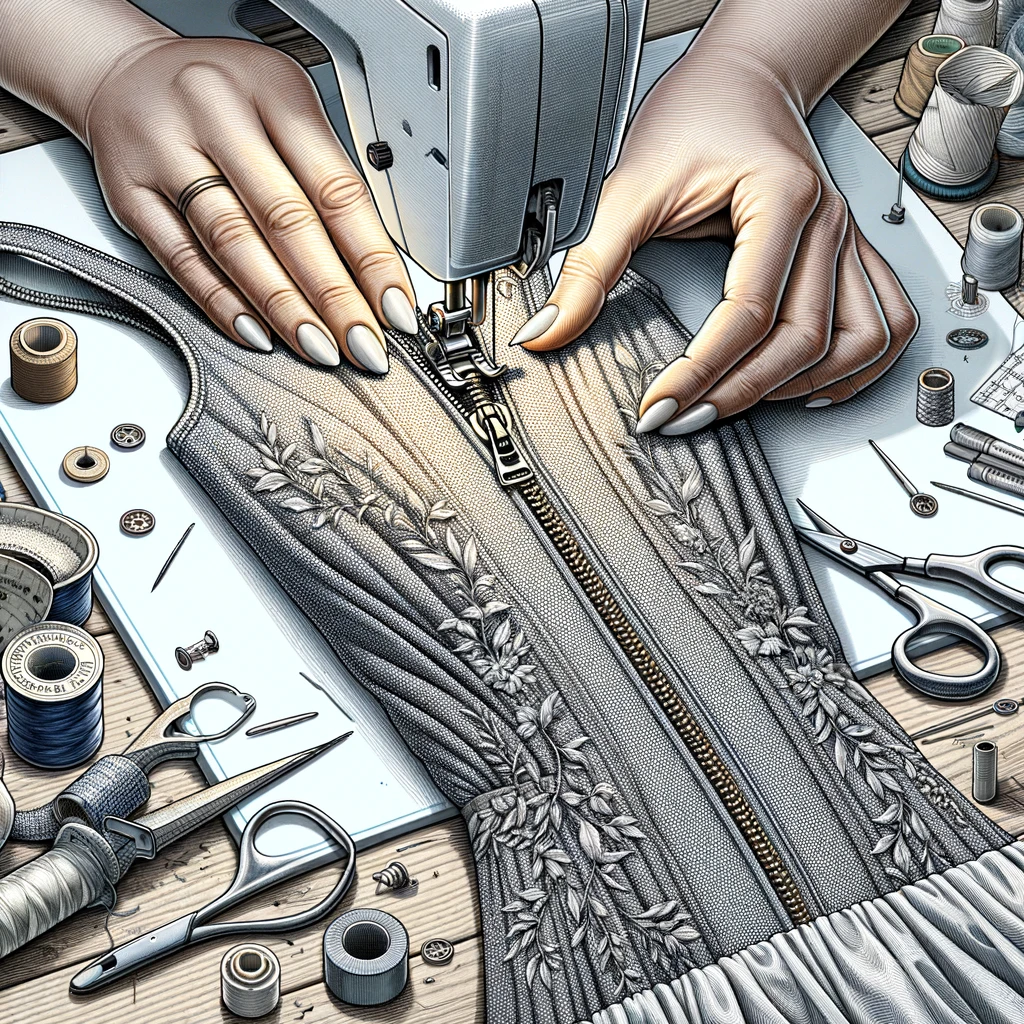
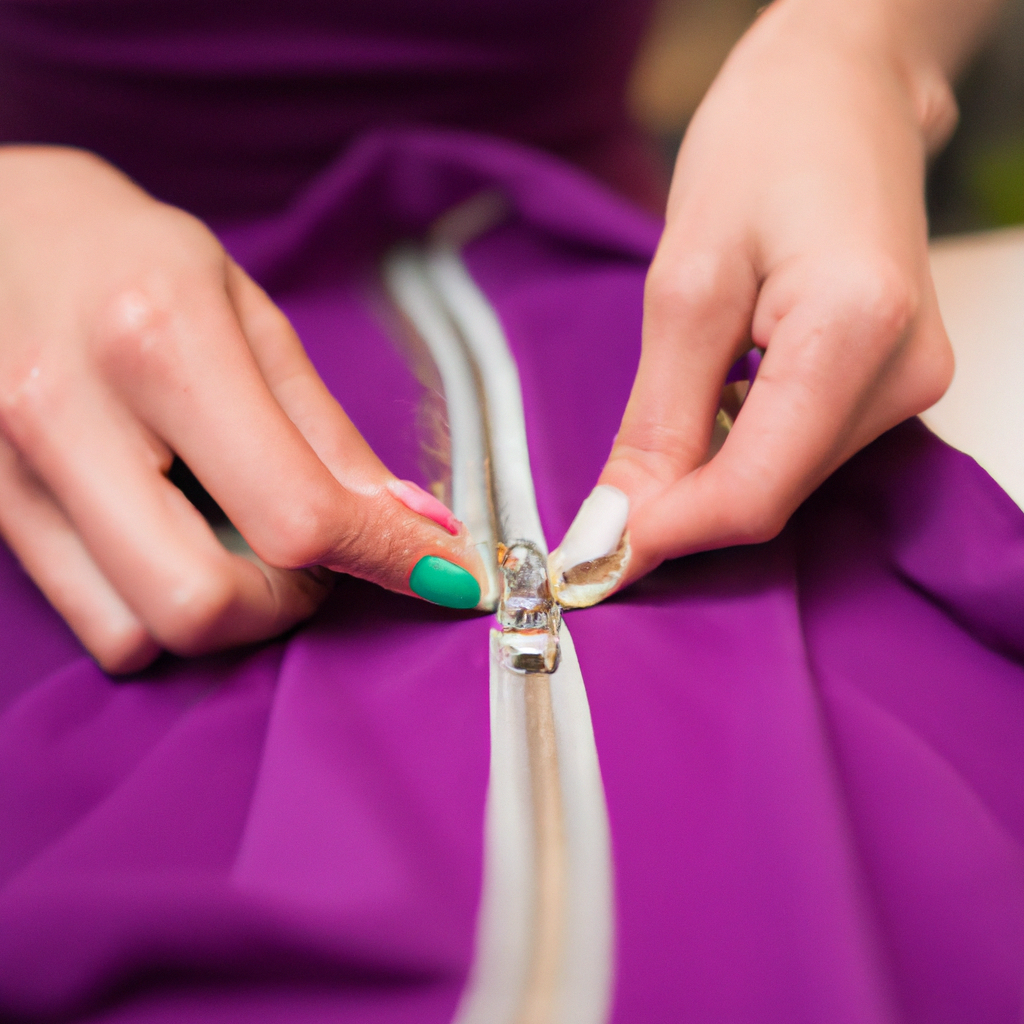
Step 5: Sew the Zipper on the Dress
Attach the zipper foot to your sewing machine, and carefully sew the zipper to the dress. Start from the top of the zipper, sewing down one side, across the bottom, and up the other side. Ensure the stitch line is close to the zipper teeth without catching them. For invisible zippers, use an invisible zipper foot to sew as close to the teeth as possible. Remove the tape (if used) and open the basted seam to reveal the finished zipper. Backstitch at the start and end to secure the stitches.
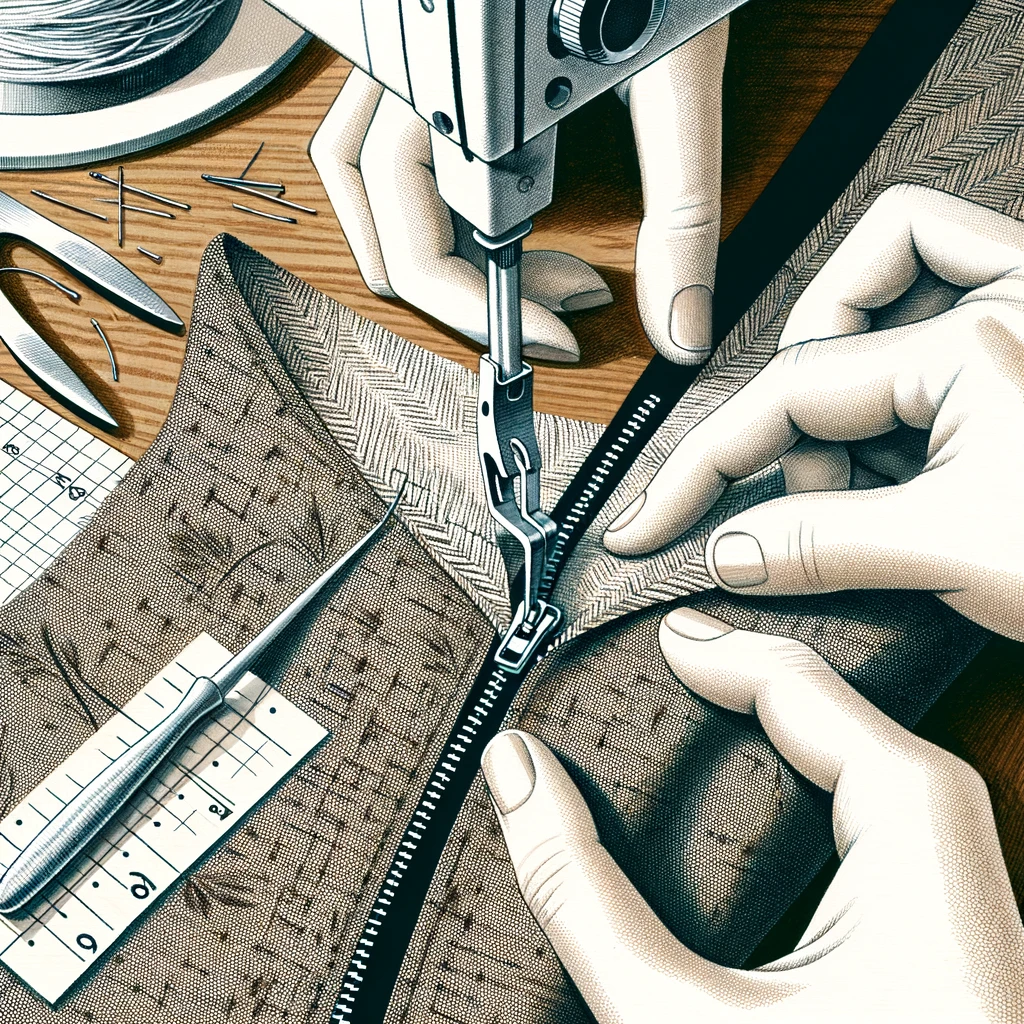
Step 6: Zipper Foot
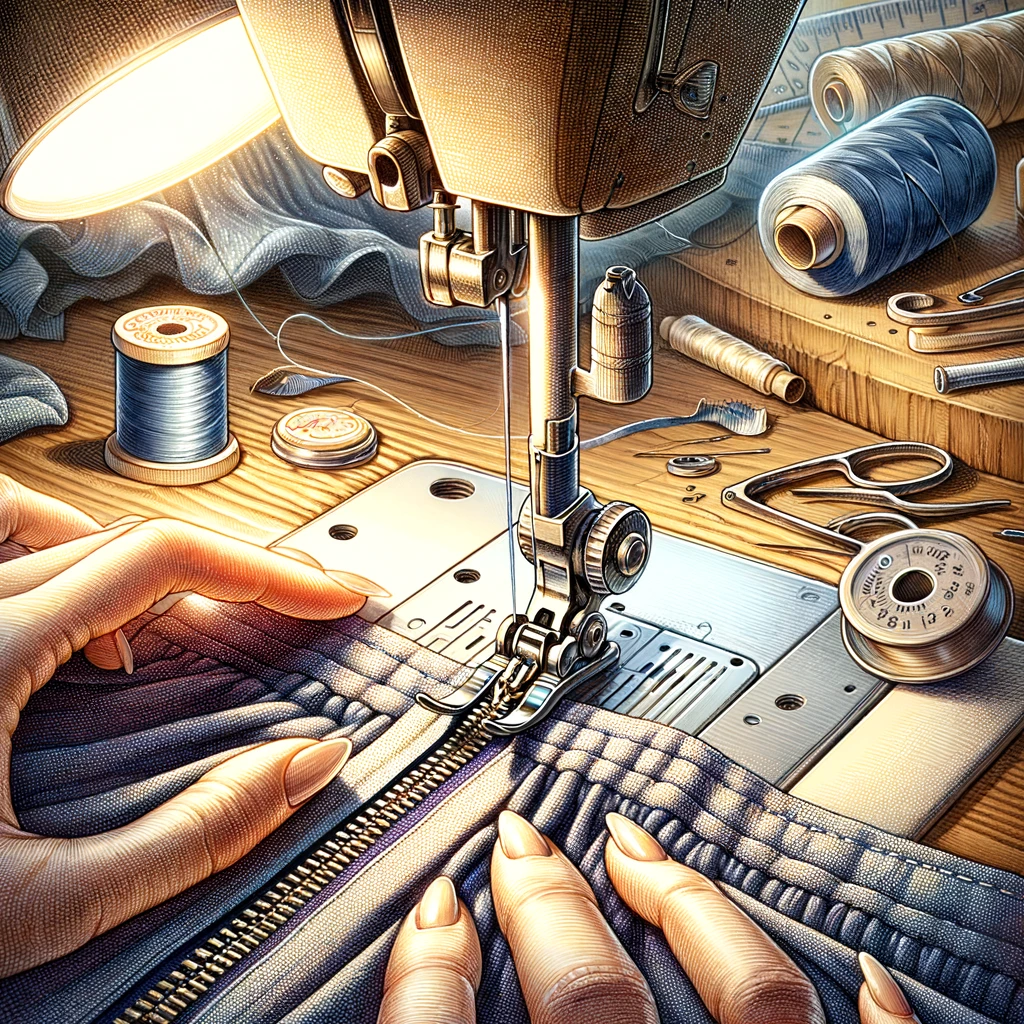
Switching to a zipper foot is essential for sewing close to the zipper teeth. The zipper foot allows for precision and flexibility, accommodating the zipper’s bulk without hindering the sewing process. Adjust the needle position to sew as close to the zipper teeth as possible, ensuring a tight fit. This step ensures that the fabric lays flat against the zipper, minimizing gaps and ensuring a clean, professional look. The zipper foot is a vital tool in seamlessly integrating the zipper into the dress.
Step 7: Sewing Each Side

Begin sewing from the top of the zipper, ensuring the fabric is taut and the zipper tape is aligned with the fabric edge. Sew down one side of the zipper tape, maintaining a consistent distance from the zipper teeth. Upon reaching the bottom, pivot and continue sewing across the bottom of the zipper tape if necessary before ascending the opposite side. This method ensures a secure and even attachment of the zipper to the dress, contributing to the garment’s overall aesthetics and functionality.
Step 8: Finishing the Zipper Bottom
Once both sides of the zipper are sewn, pay special attention to finishing the zipper bottom. This involves sewing a small bar tack or reinforcement stitch across the bottom of the zipper tape to secure it in place and prevent the zipper slider from coming off. This step not only strengthens the zipper installation but also adds a neat, finished look to the garment. It’s a crucial detail that enhances the durability of the dress.
Step 9: Remove the Basting Stitches
With the zipper securely sewn in, carefully remove the basting stitches that temporarily hold the fabric together. Use a seam ripper or small scissors to gently cut and pull out the stitches, being careful not to snag the fabric or the newly installed zipper. Removing the basting stitches reveals the clean line of the zipper, transforming the temporarily joined fabric into a smoothly integrated closure. This step is satisfying as it showcases the near-final appearance of the dress.
Step 10: Finish the Dress

The final step involves finishing touches on the dress, such as pressing the zipper area one last time to ensure it lies flat and blends seamlessly with the rest of the garment. Additionally, check the overall fit of the dress, making any necessary adjustments to ensure a perfect fit. Finally, admire your work; the zipper is now an integral part of the dress, enhancing both its functionality and aesthetic appeal. This completion marks the culmination of skillful craftsmanship and attention to detail in dressmaking.
Section 5: Troubleshooting and Advanced Tips
Installing zippers can sometimes be a challenge, even for experienced dressmakers. Common issues like misalignment and fabric puckering can detract from the beauty of a garment. Here are solutions to these problems, along with advanced tips for working with a variety of fabric types.
Solving Misalignment and Puckering:
- Misalignment often occurs if the fabric shifts during sewing. To prevent this, ensure the zipper is taped or pinned securely before sewing. If misalignment happens, don’t hesitate to use a seam ripper to remove the stitches carefully and reposition the zipper.
- Fabric puckering can result from sewing too fast or using incorrect tension settings on your sewing machine. Sew slowly and adjust the tension as needed for the fabric type. Using a stabilizer or interfacing can also help, especially with lightweight or delicate fabrics.
Advanced Tips for Different Fabrics:
- Delicate fabrics like silk or chiffon require a gentle touch. Use a fine, sharp needle and lightweight thread to avoid damaging the fabric. Placing tissue paper underneath the fabric while sewing can prevent it from getting caught in the sewing machine.
- Stretchy fabrics can be particularly challenging when installing zippers. Use a walking foot on your sewing machine to keep the fabric layers from shifting. Additionally, a stabilizer along the seam can prevent stretching and ensure a smooth installation.
Additional Considerations:
- Always perform a test run on scraps of your fabric before sewing the actual garment. This allows you to adjust tension, stitch length, and sewing speed as needed.
- For invisible zippers, investing in an invisible zipper foot can make a significant difference, allowing you to sew closer to the teeth for a truly invisible appearance.
By anticipating common issues and understanding how to work with different materials, you can overcome many of the challenges associated with zipper installation. These advanced tips not only solve problems but also elevate the quality of your dressmaking projects, ensuring professional results every time.
Section 6: Creative and Aesthetic Enhancements

Adding a zipper to a dress is not just about functionality; it’s also an opportunity to inject personality and style into your garment. Decorative pulls, ranging from elegant metal charms to handmade fabric tassels, can transform a simple zipper into a statement piece.
Additionally, creating fabric covers for the zipper tape can blend functionality with design, offering a seamless integration of the zipper into the dress. Achieving a professional and polished finish involves precise stitching and careful pressing. Consider using a contrasting thread color for a bold look or a matching one for subtlety.
These custom touches not only enhance the garment’s aesthetic appeal but also showcase the dressmaker’s creativity and attention to detail.
Section 7: Care and Maintenance
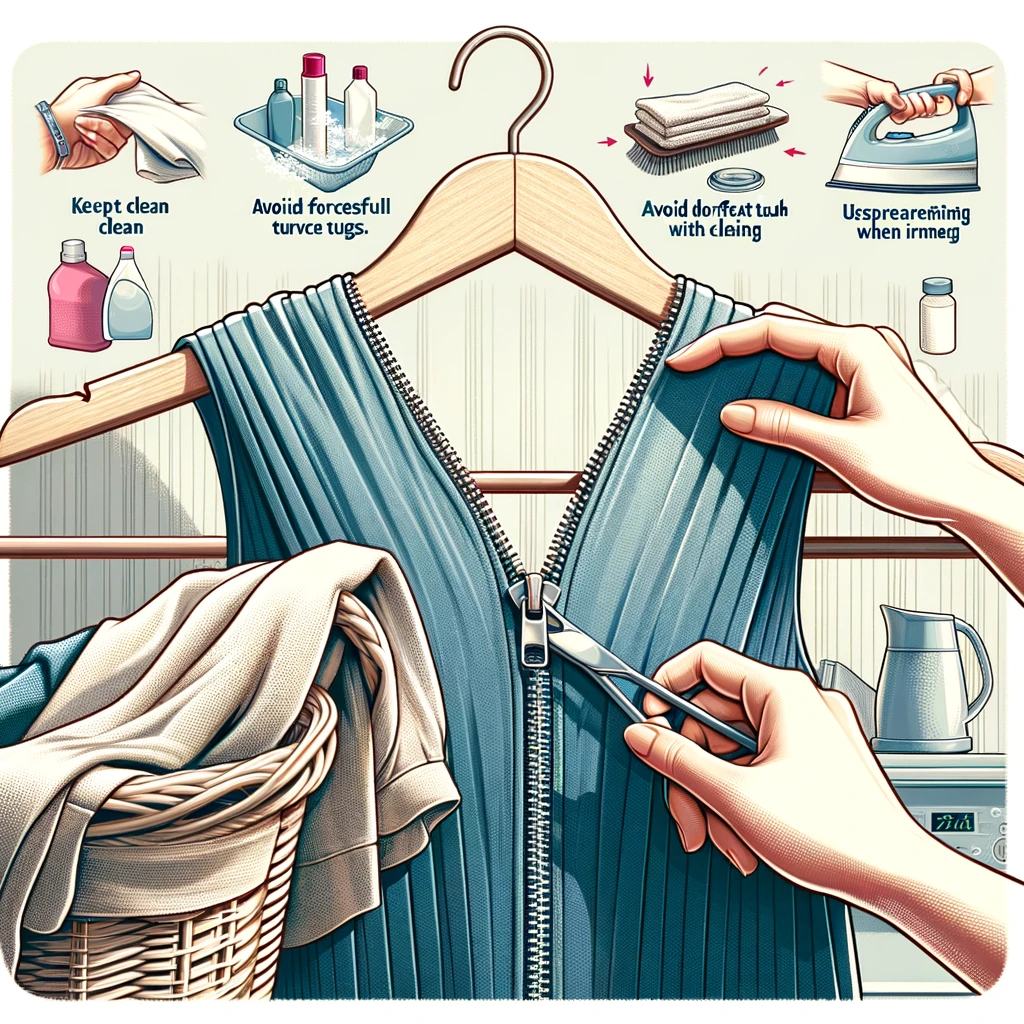
To maintain the durability and appearance of your zipper and dress, regular care is essential. Avoid overloading the zipper to prevent strain and potential breakage. For cleaning, gently zip up the garment to protect the zipper teeth and pull, and follow the fabric care instructions to prevent damage.
If the zipper becomes stuck, applying a small amount of lubricant (such as graphite from a pencil) can help it glide more smoothly.
In cases where the zipper is damaged beyond repair, replacing it involves carefully removing the old zipper and sewing in a new one, following the steps outlined in previous sections.
Regular inspections for loose threads or misalignment can extend the life of your zipper, ensuring your dress remains a cherished piece in your wardrobe.
Conclusion
Mastering the art of sewing zippers into dresses opens up a world of design possibilities and ensures your creations stand the test of time. Embrace the challenge of working with different zipper types and styles to enhance your dressmaking skills. Practice, patience, and creativity are your best tools on this journey, leading to professional and personalized results that reflect your unique touch.
FAQs on Sewing a Zipper into a Dress
1. What type of zipper is best for a beginner to start with?
A: Beginners might find the centered zipper installation the easiest to start with. It’s straightforward and allows for some margin of error. Once comfortable, moving on to invisible or lapped zippers can add variety to your skills.
2. How do I choose the right zipper length for my dress?
A: Measure the exact length of the seam where you intend to install the zipper, then add about an inch to ensure you have room for adjustments. It’s easier to shorten a zipper than to extend one that’s too short.
3. Can I sew a zipper into a stretchy fabric dress?
A: Yes, but it requires some precautions. Use a stabilizer to prevent the fabric from stretching as you sew and consider a walking foot for your sewing machine to keep the fabric layers from shifting.
4. What do I do if my zipper keeps getting stuck?
A: First, check for any fabric caught in the zipper’s teeth. If the zipper still sticks, lightly rubbing a graphite pencil on the teeth can help it glide smoother. Regular cleaning and maintenance also prevent sticking issues.
5. How can I make my zipper installation look more professional?
A: Precision is key. Take your time with measuring, pinning, and sewing to ensure alignment. Using an iron to press the fabric before and after installation can also significantly improve the appearance of your zipper. Experimenting with decorative pulls or fabric covers can add a unique touch to your garment.