
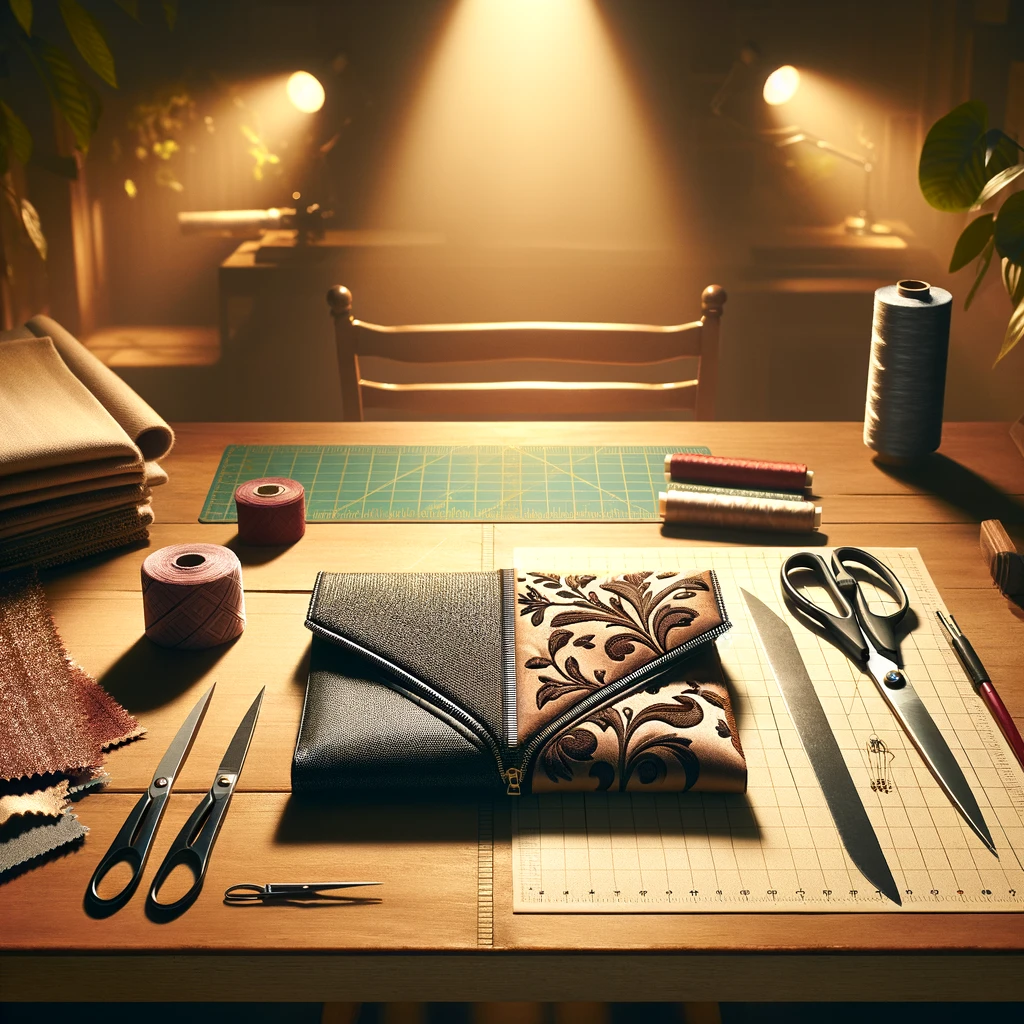
Embarking on a DIY journey to sew a simple clutch purse is a thrilling adventure into the world of handcrafted fashion. This guide is designed to lead you step-by-step through the process, of transforming a piece of fabric into a stylish accessory uniquely yours.
Whether you’re a novice eager to dip your toes into sewing or a seasoned crafter looking for a quick project, this tutorial promises to equip you with the skills needed to create a beautiful clutch. With just a few materials, some patience, and your creativity, you’ll soon be flaunting a custom-made purse that’s not only practical but also a true reflection of your style.
What You’ll Need
Materials:
- Fabric: Choose a durable yet stylish fabric that reflects your taste. Options range from classic cotton to luxurious velvet, allowing for customization and creativity in your design.
- Fusible Fleece: Fusible Fleece is the secret ingredient to giving your clutch structure and durability. It will add the necessary body to the fabric, ensuring your purse maintains its shape.
- Thread: Opt for a high-quality sewing thread that matches or complements your fabric. This will ensure strong seams and a professional finish.
- KAM Snap: A KAM snap adds a secure and easy-to-use closure to your clutch, blending functionality with a touch of elegance.
Tools:
- Sewing Machine: A reliable sewing machine is indispensable for stitching your clutch together with precision.
- Scissors: Sharp fabric scissors make cutting your materials a breeze, ensuring clean and accurate lines.
- Iron: An iron is crucial for applying fusible fleece and achieving crisp folds and seams.
- Pins: Pins will hold your fabric in place as you sew, preventing slips and ensuring accuracy.
- Ruler: A ruler is essential for measuring and cutting straight lines, ensuring your clutch dimensions are precise.
- Marking Pen or Chalk: Use these for transferring patterns and making temporary marks on your fabric, guiding your sewing process.
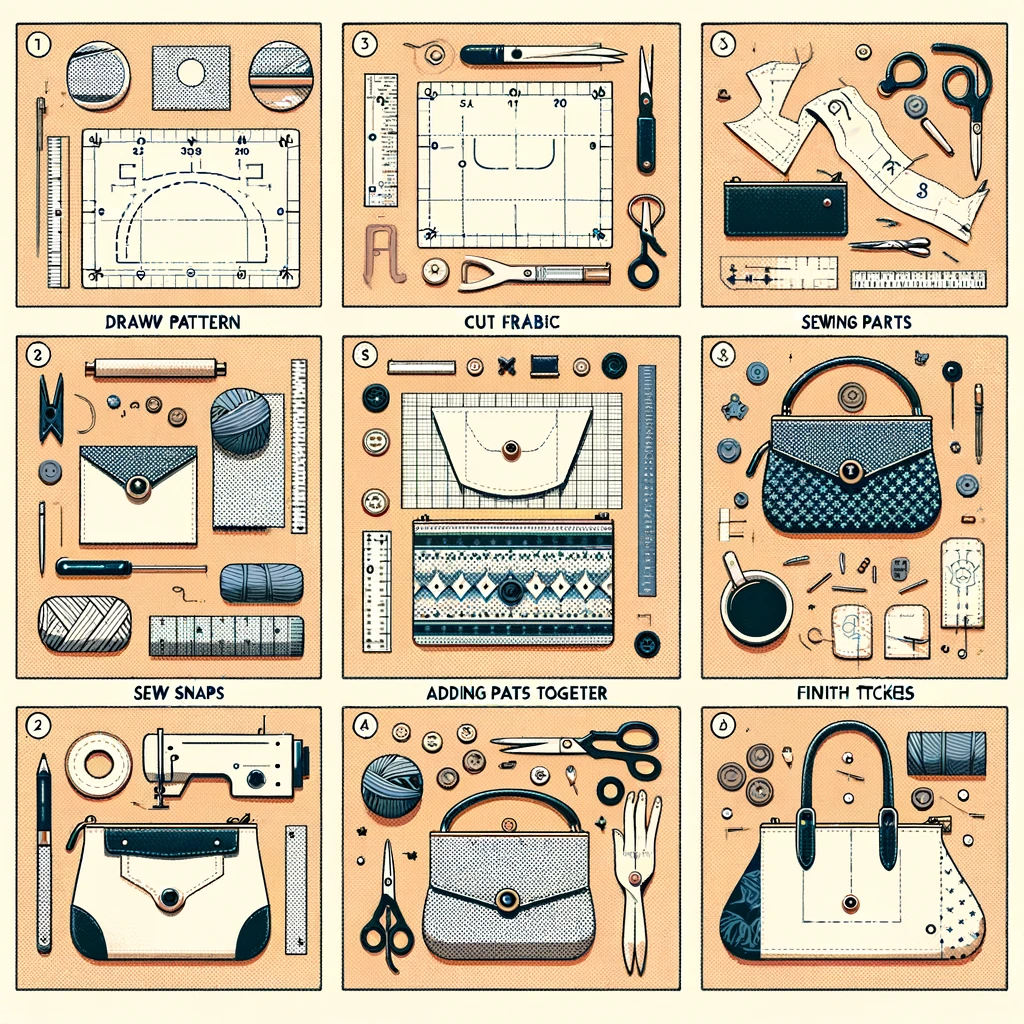
Step-by-Step Guide On How To Sew A Simple Clutch Purse
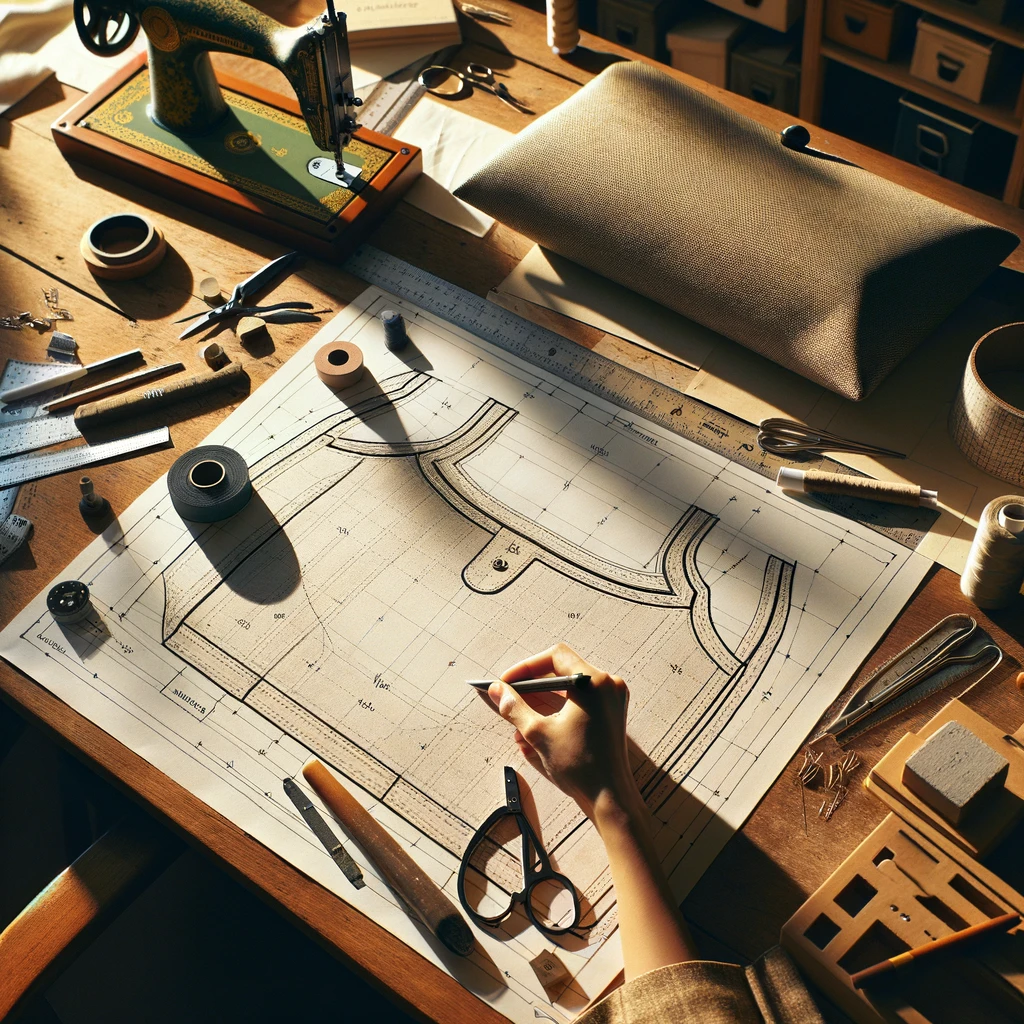
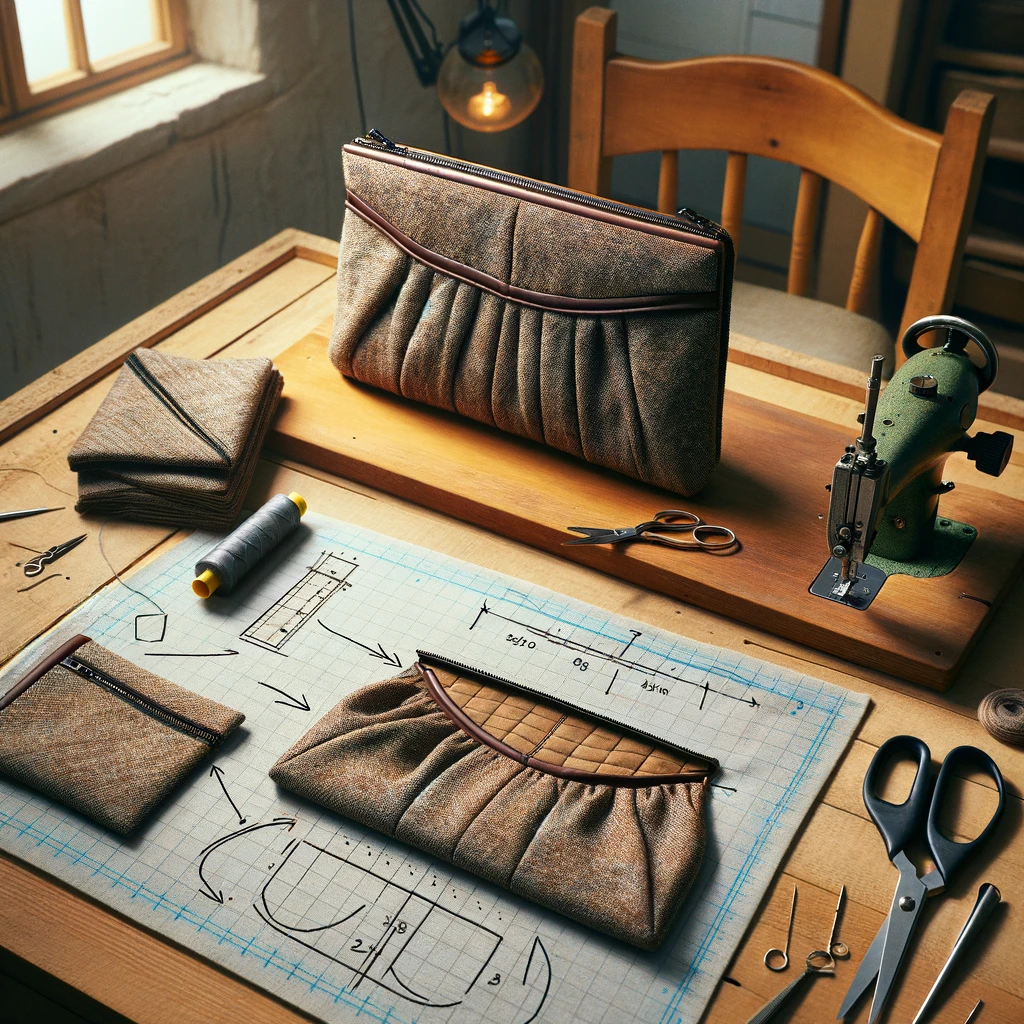
Creating a Clutch Pattern (Optional)
Embarking on the journey of creating a custom clutch purse starts with an optional yet beneficial step: drafting your pattern. This initial phase allows for unparalleled personalization, letting you tailor the size, shape, and design features to perfectly match your vision. To begin, simply lay a piece of pattern paper on a flat surface. Sketch out the desired outline of your clutch, incorporating any specific design elements like flaps or pockets. Remember to add seam allowances around the perimeter for stitching. The advantage of creating a custom pattern lies in the freedom it offers, enabling you to craft a truly unique accessory that reflects your style and meets your functional needs.
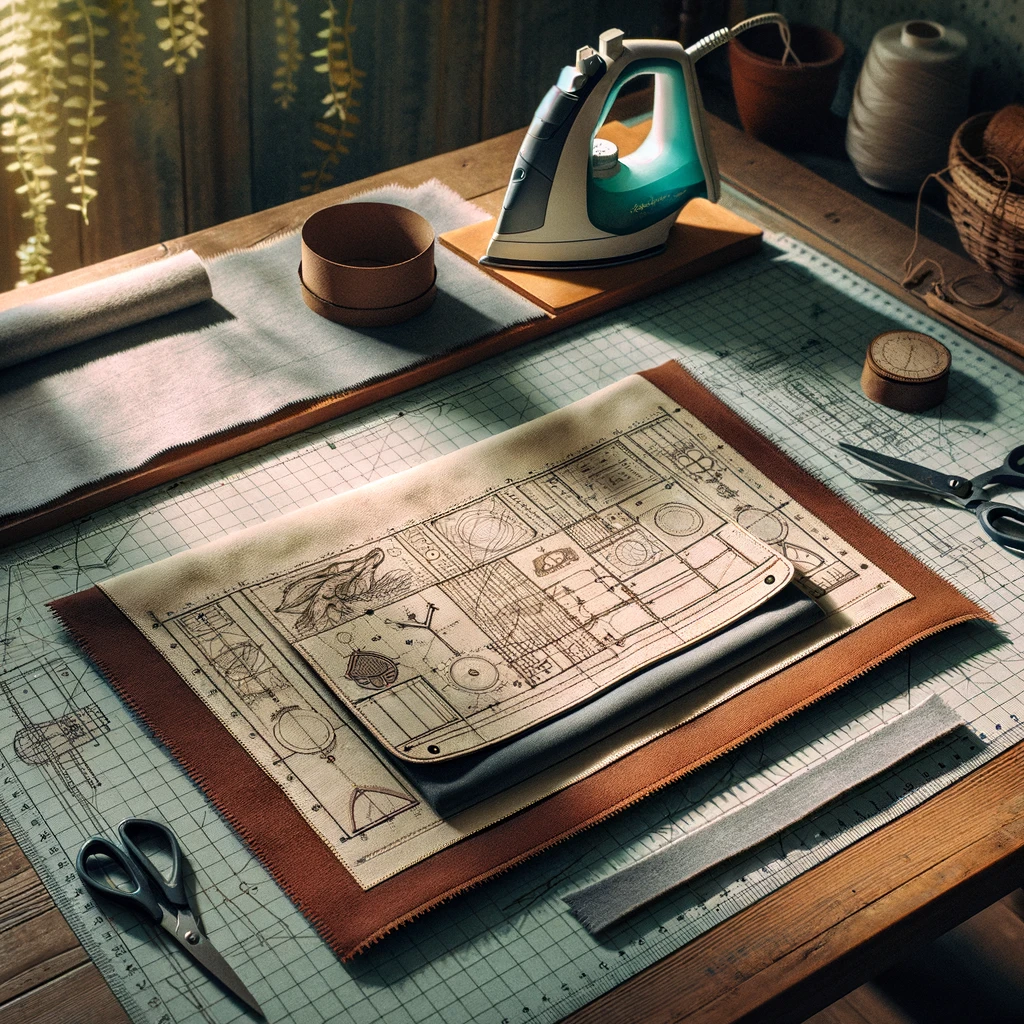
Cut the Fabric and Fusible Fleece
Accuracy and precision in cutting your chosen fabric and fusible fleece are paramount to the success of your clutch purse project. Lay your fabric on a clean, flat surface and position your pattern on top, securing it with pins to prevent movement. Use sharp fabric scissors to cut around the pattern, ensuring smooth, clean lines for a professional finish. Repeat the process with the fusible fleece, which will later be ironed onto the fabric to provide structure and support. This step is crucial, as precise cutting ensures that the pieces fit perfectly together, laying the foundation for a well-constructed clutch.
Transfer the Markings
Once your pieces are cut, the next step involves transferring the pattern markings to your fabric. These markings are essential for alignment, seam allowances, and other construction details. Use a tailor’s chalk or a disappearing ink fabric pen to carefully replicate the markings from the pattern onto the wrong side of your fabric. Ensure clarity and accuracy in this process, as these guidelines will direct your sewing, ensuring that each piece aligns correctly for a seamless assembly.
Add Fusible Fleece
Applying fusible fleece to your cut fabric pieces adds the necessary structure and durability to your clutch. Place the fusible side (usually identified by a slightly rough texture) against the wrong side of your fabric. Use a hot iron to press down firmly, following the manufacturer’s instructions for temperature and duration. Move slowly and steadily, ensuring the entire piece is bonded. This step transforms your fabric into a more robust material, ready to withstand the rigors of daily use while maintaining its shape and elegance.
Make The Pull Tab
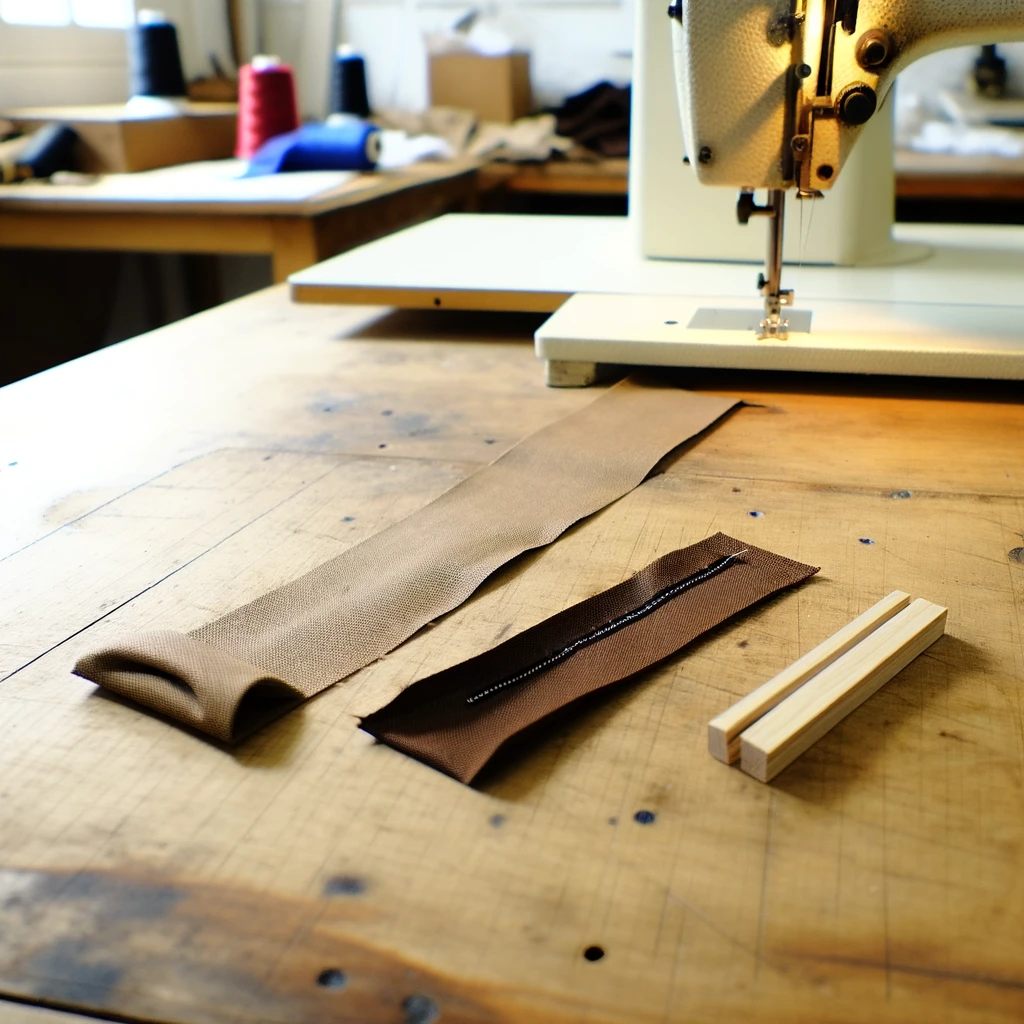
The pull tab is a small yet significant feature that enhances your clutch’s functionality and style. Cut a small strip of fabric about 2 inches wide and 4 inches long. Fold it lengthwise, right sides together, and stitch along the long edge. Turn it right side out, press, and fold the ends inwards. Stitch across to secure, creating a neat loop. This tab will be attached to the zipper or flap of your clutch, providing a handy grip for opening and closing.
Assemble the Pieces
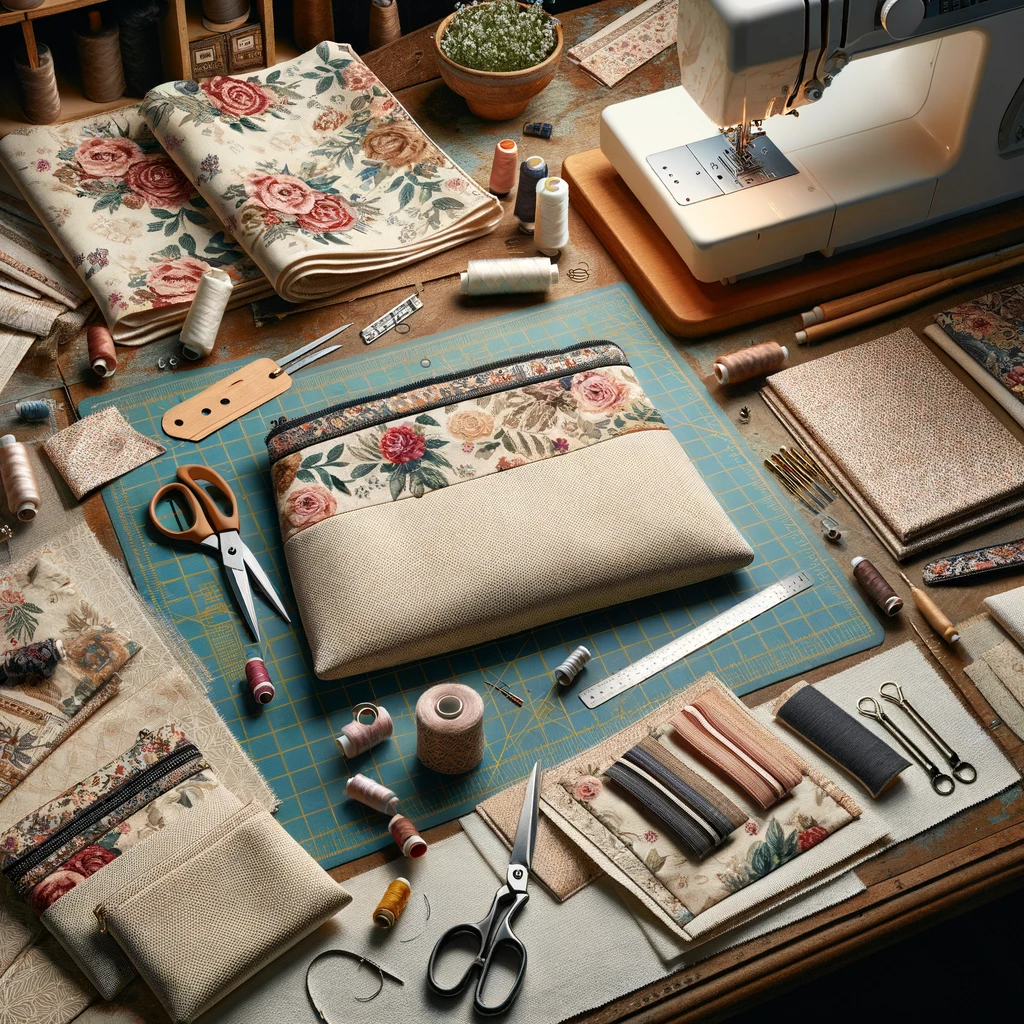
With all components prepared, it’s time to assemble your clutch. Start by laying out the outer fabric, fusible fleece, and lining in their respective order. Align the edges carefully, ensuring the markings match up. If your design includes a pull tab or any other additional elements, position them between the layers as per your pattern instructions. Pin everything in place to secure. This preparatory step is crucial for seamless sewing, ensuring each layer is correctly aligned and ready to be united into the body of your clutch.
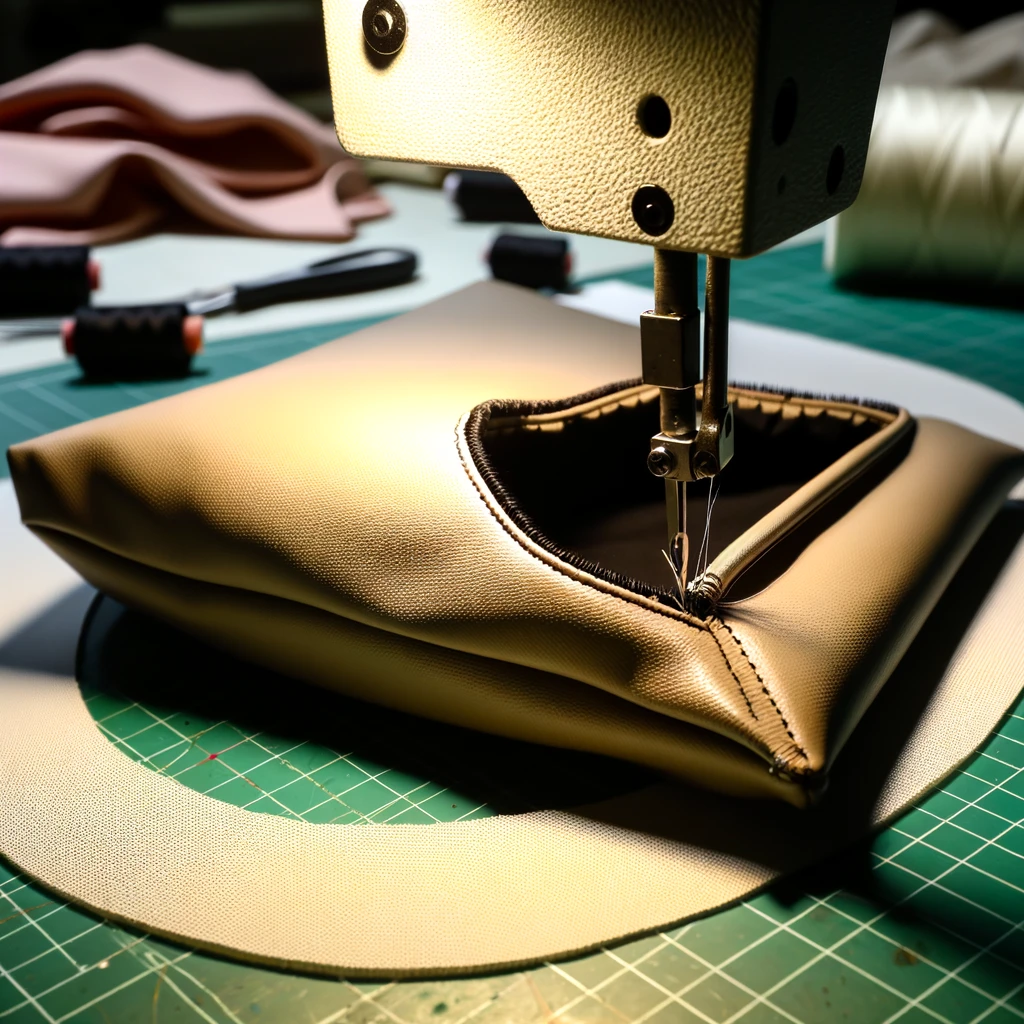
Stitch the Bottom Area
The foundation of your clutch’s durability begins with stitching the bottom area. This step requires careful attention to ensure that the seam is strong and even. Set your sewing machine to a straight stitch and begin sewing along the bottom edge of your clutch, following the markings you’ve transferred earlier. Backstitch at the beginning and end to secure the seam. This not only forms the base of your clutch but also ensures that it can withstand the weight of its contents, laying the groundwork for a sturdy and reliable accessory.
Add the Lining Layer
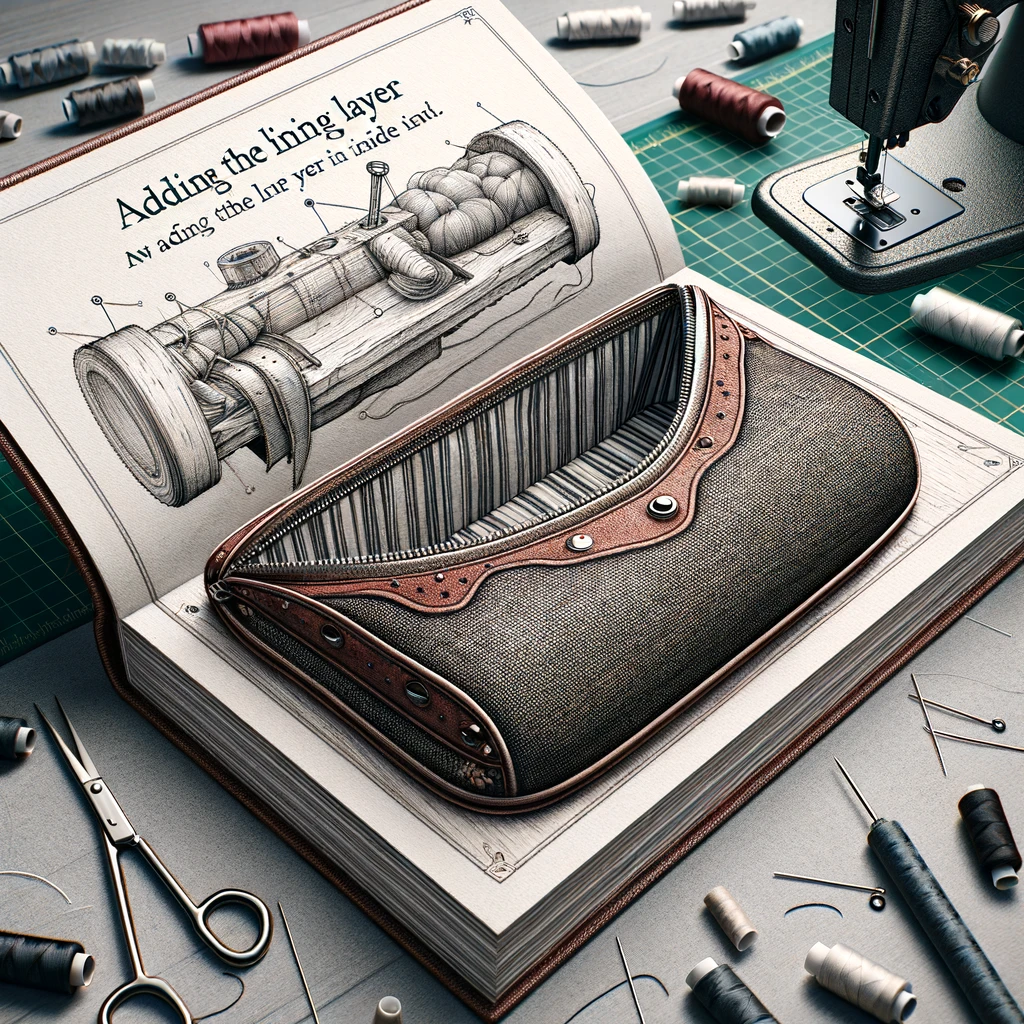
Inserting the lining is what gives your clutch purse a polished and professional inside finish. Place the lining fabric inside the clutch, ensuring the right sides are facing each other. Pin around the top edge to secure it to the outer fabric and fusible fleece layer. Sew around this edge, leaving a small gap for turning the purse right side out later. The lining not only conceals the internal workings of the clutch, such as seams and fusible fleece but also adds an extra layer of durability and a chance to incorporate a contrasting or complementary fabric to the inside.
Sew Around
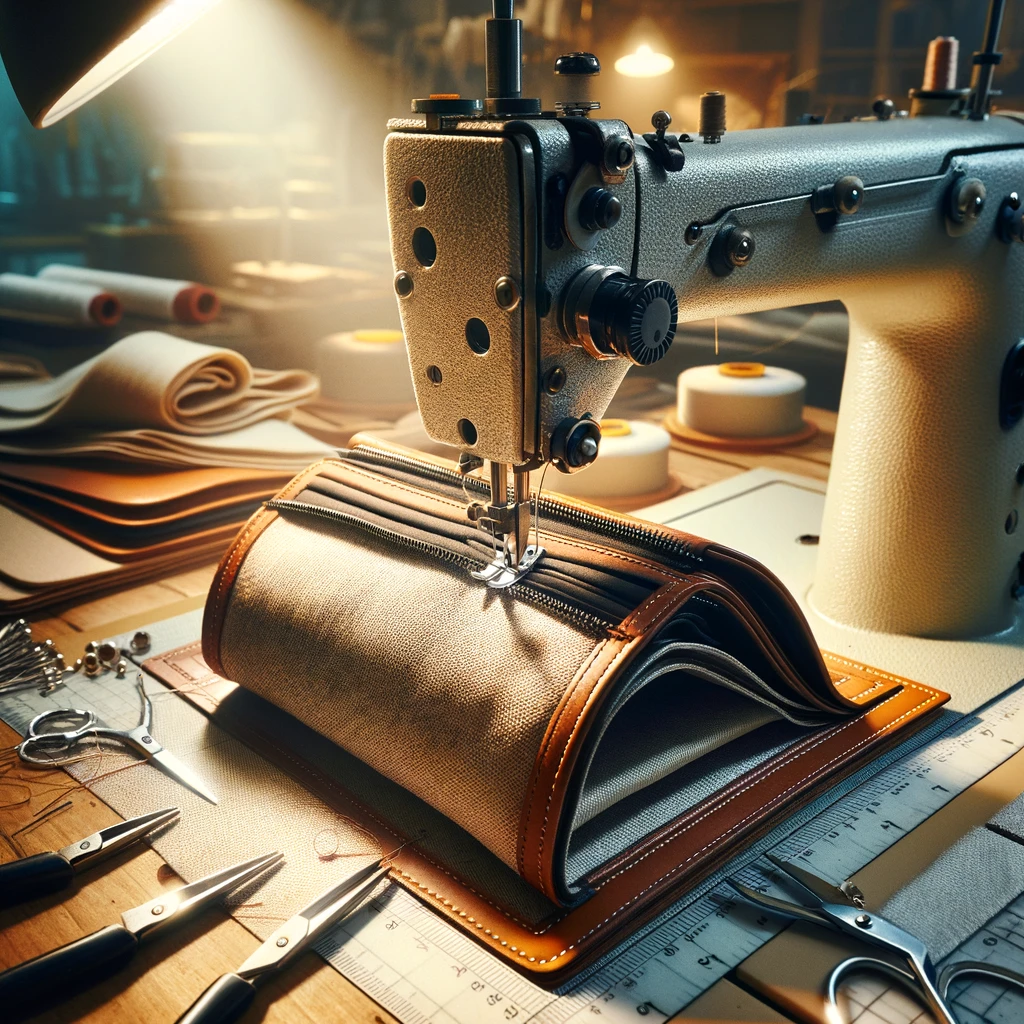
With the lining in place, the next step is to sew around the perimeter of the clutch, securing the outer and inner layers together. This process reinforces the clutch’s structure and ensures that all layers remain aligned. Use pins to hold everything together tightly and sew carefully, removing the pins as you go. This stitching round is crucial for defining the clutch’s edges and shape, contributing significantly to its overall appearance and strength.
Trim the Seam and Turn the Right Side Out
After sewing, trim the seam allowances to reduce bulk, especially at the corners, for a cleaner finish. Carefully turn the clutch right side out through the gap left in the lining, using a blunt tool to push out the corners for a sharp edge. This moment of transformation reveals the clutch’s form, allowing you to see the fruits of your labor taking shape. Press the clutch with an iron to smooth out any wrinkles and prepare it for the final steps.
Sew the Gap
The small gap left in the lining for turning the clutch right side out must now be closed. Fold the raw edges of the gap inward, aligning them with the sewn edge of the lining, and pin them in place. Hand stitch or use your sewing machine to sew the gap closed. This step is not only about aesthetics but also about securing the integrity of the lining, ensuring that the inside of your clutch is as finished and functional as the outside.
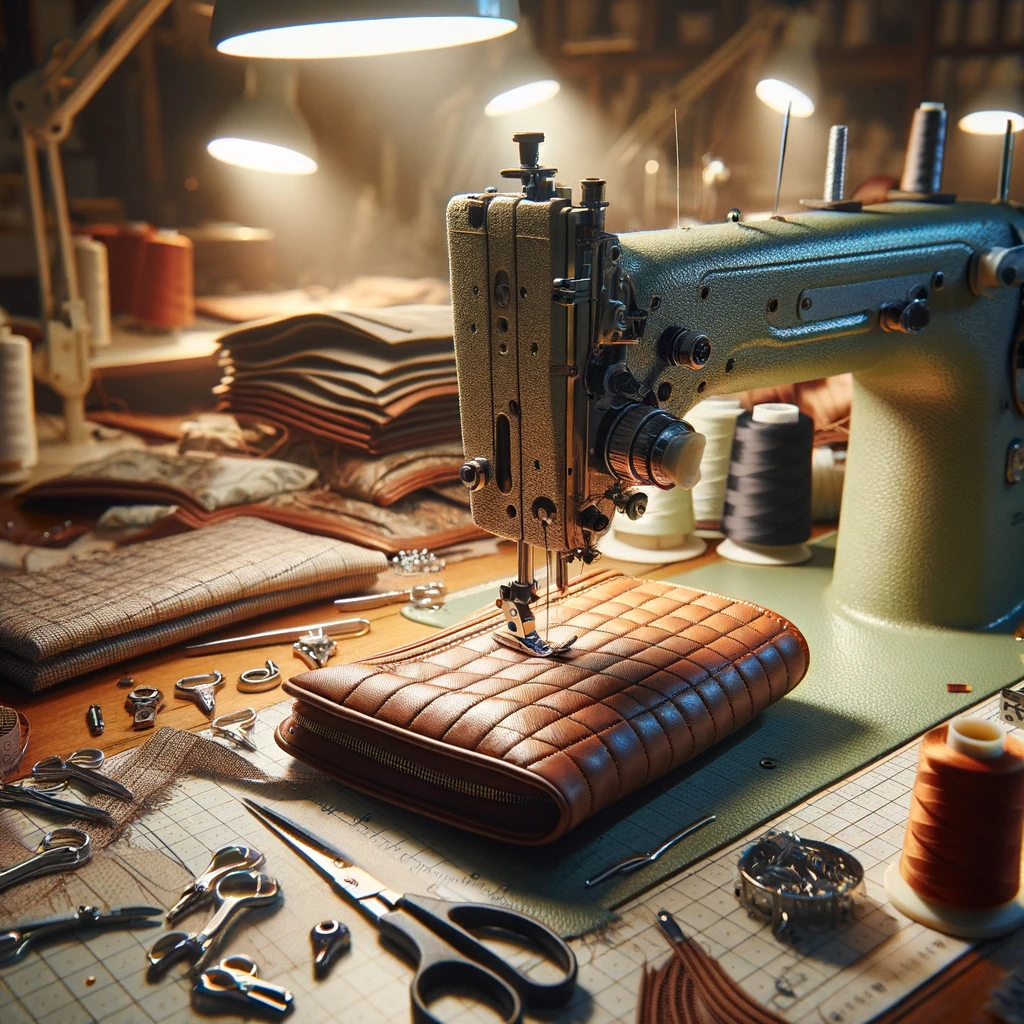
Topstitch
Topstitching adds both aesthetic and structural integrity to your clutch purse. Once the clutch is turned right side out and pressed, topstitch close to the edge along the top of the clutch. This not only secures the layers in place but also gives the clutch a professional, polished look. Choose a thread color that complements or contrasts with your fabric for decorative appeal. This detail, while small, significantly elevates the overall quality and durability of the clutch.
Add a KAM Snap
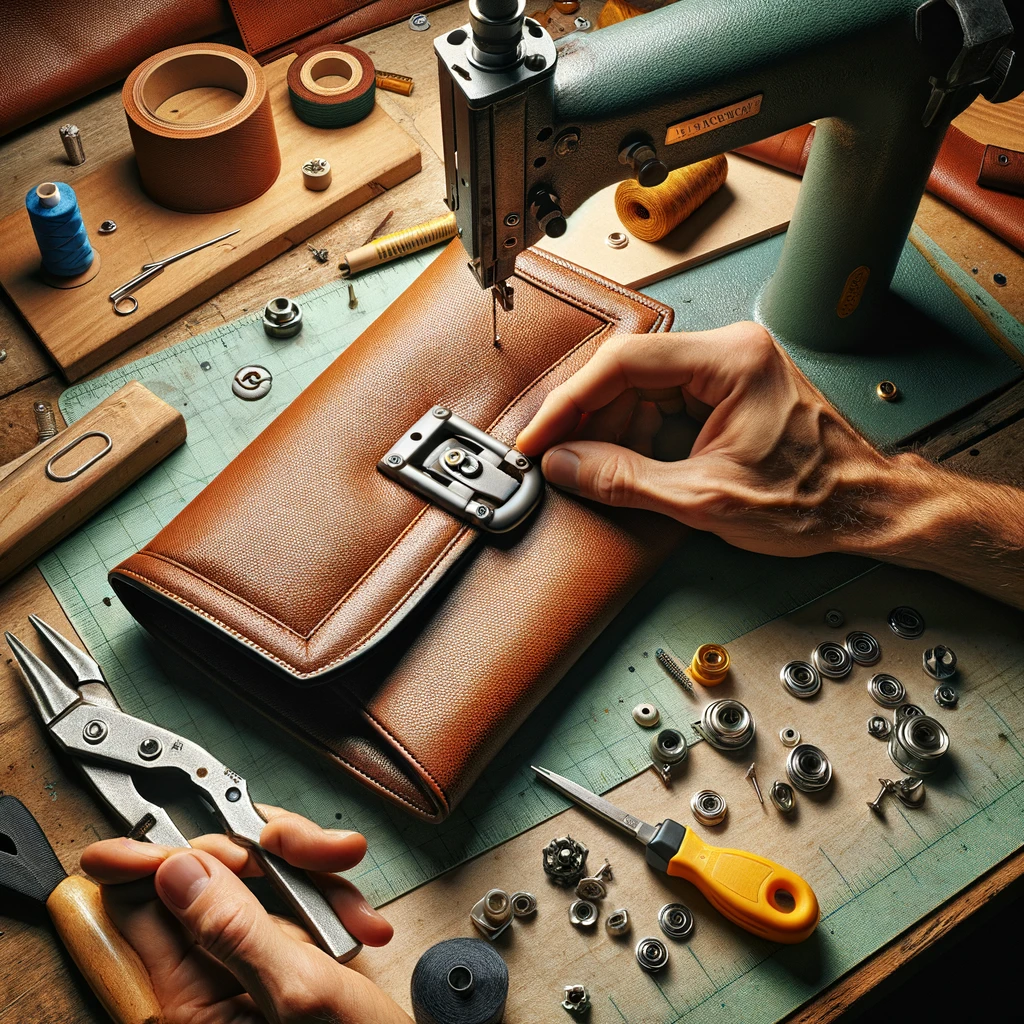
The final step in your clutch-making journey is adding a KAM snap for a secure closure. Position the snap components on the clutch flap and body, marking the exact spots where they will be attached. Use the KAM snap pliers to affix the snap pieces, ensuring they align perfectly when the clutch is closed. This simple yet effective closure method not only keeps your belongings safe inside the clutch but also adds a modern touch to your handmade accessory. The snap’s ease of use and reliability make it an excellent choice for your DIY clutch, marking the culmination of your crafting journey with a functional and stylish finishing touch.
FAQs
How do I choose the right fabric for my clutch purse?
Choosing the right fabric for your clutch purse involves considering both aesthetic and practical aspects. Opt for durable materials like leather, canvas, or heavy cotton for longevity. For evening clutches, silk, satin, or velvet add elegance. Think about the purse’s use—daily wear requires sturdier fabric, while special occasions can afford more delicate materials. Always consider the fabric’s texture and pattern, ensuring it aligns with your style and the purse’s intended use.
Can I hand-sew my clutch purse if I don’t have a sewing machine?
Absolutely! While a sewing machine can speed up the process, hand-sewing your clutch purse adds a personal touch and allows for meticulous detail. Use a backstitch for strength, especially along seams that will bear weight or stress. Though hand sewing is more time-consuming, it’s perfectly suitable for making a clutch purse, offering a satisfying and intimate approach to your project.
What are some tips for working with fusible fleece?
When working with fusible fleece, always use a pressing cloth to protect both the iron and the fabric. Follow the manufacturer’s instructions regarding heat settings and pressing time to ensure a secure bond without damaging the fleece or fabric. Test on a scrap piece first to adjust temperature and timing. Keep the iron moving to avoid overheating any area. Fusible fleece adds structure, so align it accurately before pressing to maintain the clutch’s shape.
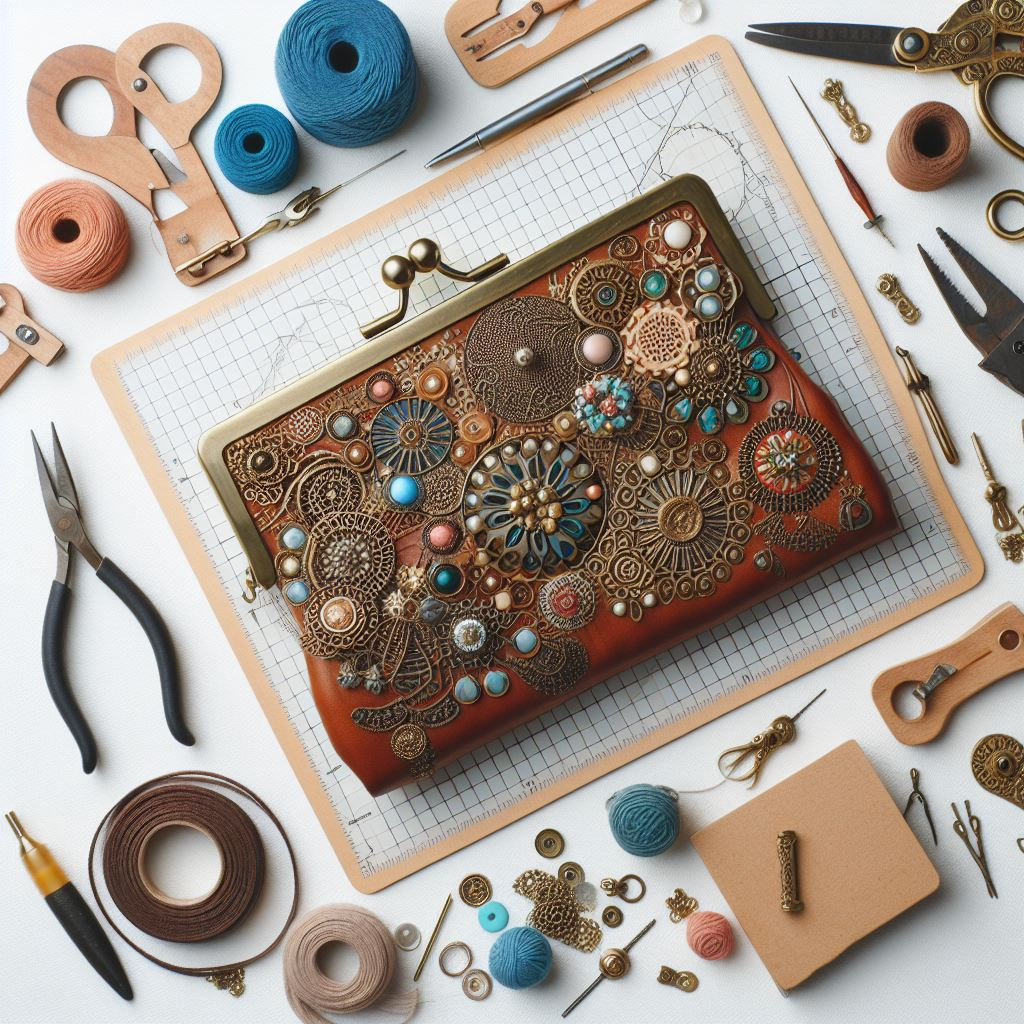
How can I customize my clutch purse?
Customizing your clutch purse is a fantastic way to reflect your style—experiment with fabric choices, mixing patterns and textures for a unique look. Add embellishments like embroidery, beads, or sequins. Consider practical additions like card slots or a detachable strap. Personalize the pull tab or incorporate decorative stitches for a one-of-a-kind accessory. Your imagination is the limit when it comes to customization.