
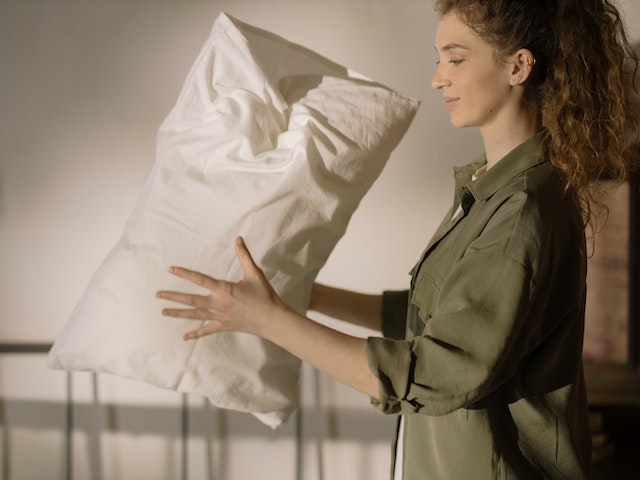
When you’re looking for a way to spruce up your home, adding a few pillows can be a great way to do it. However, adding your own pillowcase is not as easy as it may seem.
In this blog post, we will show you how to sew a pillowcase. What you will need to sew a pillowcase? We will also discover different methods which you can follow to sew a pillowcase. So let’s get started!
What You’ll Need?
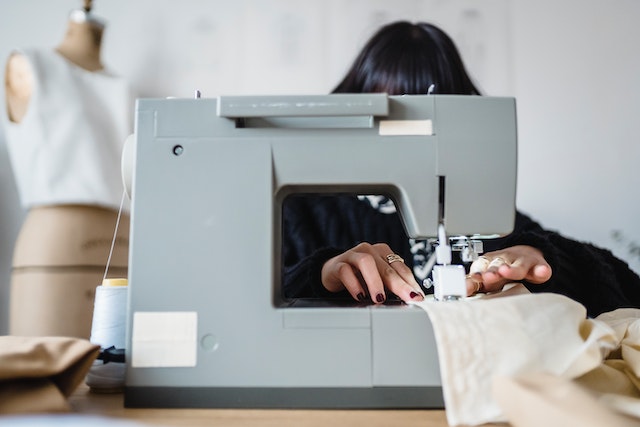
In this tutorial, we will teach you how to sew a pillowcase. This is a great way to use up some leftover fabric and make your own custom pillowcase. You will need the following supplies:
1- A piece of fabric measuring the desired size of your pillowcase (you can use an old sheet or a muslin cloth)
2- A sewing machine and matching thread
– 3- Pins or needle nose pliers
4- Seam ripper
5- Iron and ironing board
How To Sew Pillowcases with Cuffs?
Let’s start with how to sew a pillowcase with a cuff. This is a great way to add some extra interest and functionality to your pillowcases. Cuffing the bottom of the pillowcase will keep it from flipping open while you sleep, and also makes it more comfortable to lie on since the case doesn’t move around.
To cuff your pillowcase, start by cutting an 18-inch piece of fabric and folding it in half so that you have a 6-inch wide by 18-inch long piece. Pin the folded edge of the fabric’s right sides together. Sew up the center of the fold, leaving a 1-inch opening. Turn the pillowcase right side out through this opening. Press down firmly on the seam allowance to form a well in which you can insert your elastic cord.
To make your elastic cord, cut two 19-inch pieces of elastic tubing and tie them together at one end with a simple knot. Insert one end of the elastic cord into one well formed by pressing down firmly on the seam allowance, and insert the other end of the elastic cord into the other well-formed area. Tie another knot at this point to secure it in place. Repeat this process for each pillowcase!
Step 1: Burrito Method for Cuff
How to Sew a Pillowcase – Step 1: Burrito Method
This is how to sew a pillowcase using the burrito method. You will need:
– Cotton pillowcase
-Fabric glue
-Textile scissors
-Fabric needle and thread
-Pillow form or another object to trace the outline of the pillowcase onto (optional)
1. Begin by measuring your pillow form or another object to determine its size. Write this measurement down.
2. Next, cut out your fabric according to this measurement. Be sure to leave enough allowance for the seam allowances on both sides of the fabric.
3. Cut two pieces of fabric that are slightly larger than your pillow form/object’s size so that you can later hem them together. These will be the front and back of your pillowcase.
4. To make the burrito, start by folding one of your pieces of fabric in half, so that it forms a tiny triangle with an open edge on one side. Glue this triangular piece of fabric onto the top (open side) of your pillow form/object using Fabric glue. Make sure that the triangle is positioned correctly so that it covers all sides of your object and sits flush against it (see photo). Once you’ve glued it in place, sew around the edge of the triangle with a small zigzag stitch (see photo). Repeat this step with the second piece of fabric
Method 2: Double Stitched Cuff
If you’re looking for a quicker and easier way to sew a pillowcase, you can use double stitching. This method is especially helpful if you have trouble with accuracy or tension. To do this technique, start by folding the pillowcase in half so that the sewn edges are facing each other. Next, place one stitch in the middle of each folded edge, and then fold the top of the fabric over the stitches. Make sure that you press down firmly on the fabric to secure it. Finally, stitch the side seams together using the same method.

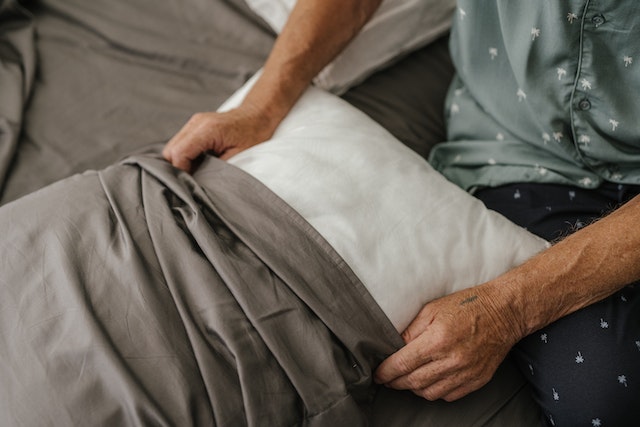
How to Sew Pillowcases by the Hand?
There are a few different ways to sew a pillowcase with your hand. The most common way is to start by folding the pillowcase in half, and then sewing the two sides of the fabric together. Make sure that you leave a 1-inch opening on one end of the pillowcase so that you can turn it right side out.
Once the opening is sewn shut, make a 1-inch hole in the center of one of the folded edges and feed your zipper through it. Then, line up the open edge of the zipper with the folded edge of the fabric and sew them together using a zigzag stitch. Finally, make sure that you topstitch both ends of the zipper closed.

How to sew a hem?
There are a few methods you can use to sew a hem on a pillowcase. With either method, you’ll need to have some basic sewing supplies on hand, including a needle, thread, and fabric.
If you’re using a machine, you’ll need to set your stitch length to a short length and make sure your seam allowance is wide. Start by layering the fabric together with the wrong side facing out. Pin in place along the top and bottom of the fabric, making sure to leave an opening at the end for your seam. Start stitching down one edge of the opening, then turn the pillowcase right-side out and finish stitching up the other edge.
If you’re using a needle and thread, start by folding one corner of the fabric so that it forms a 1-inch-wide triangle. Stitch down this folded edge, leaving an inch or two open at each end. Turn the cloth right-side out and press gently around the edges so that they lie smoothly against each other. Meticulous hemming takes practice–start small projects like these pillowcases before moving on to more complicated pieces

Tips for sewing a pillowcase
When it comes to sewing a pillowcase, follow these simple tips to ensure a perfect result every time.
1. Choose the right fabric
The first step before beginning any sewing project is to choose the right fabric. This includes deciding on the type of material, thickness and weight. It’s also important to consider how often the pillowcase will be used, as well as its shape and size.
2. Make a pattern
To ensure accuracy when sewing your own pillowcase, make a pattern out of paper first. Trace the outline of your chosen pillow case onto the paper then cut out the pieces. As you sew, make sure to keep track of where each piece goes so that your finished product is accurate and fits perfectly.
3. Sew with ease
For best results when sewing a pillowcase, use quality thread and take care not to overstitch or hem too closely – this can cause holes in your seam allowance later on down the line. Finally, don’t forget to double-check all your seams for tightness before you finish off!

How to make a pillowcase bigger or smaller?
If you want to make a pillowcase bigger or smaller, you can use different methods. One way is to cut the desired size out of a piece of fabric, and then hem the edges. Another method is to measure the circumference of your pillowcase and multiply that number by 2 or 3 to get the desired size.

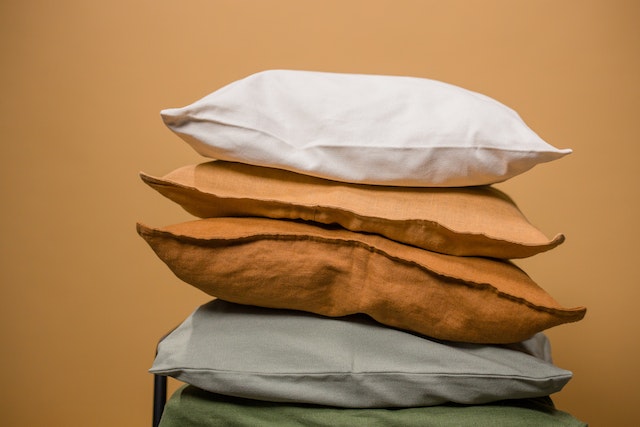
How Many Different Fabric Prints To Use For This Diy Pillowcase?
For a diy pillowcase, there are a few different fabrics you can use. A cotton fabric will be the cheapest and easiest to work with, while a quilt-weight cotton fabric may be more durable. A polyester fabric is also a good option, as it’s both comfortable and reasonably durable. A silk or linen fabric may also be a good choice if you’re looking for something that’s luxurious and drapes well. If you’re using a batting or another type of filler, make sure to choose one that’s breathable so your pillowcase will stay comfortable during use.

Conclusion
So now you know how to sew a pillowcase. I know Sewing a pillowcase can be a daunting task, but with the help of this article, you should be able to get the job done without any trouble. By following the instructions provided, you should be able to create a perfectly fitting and attractive pillowcase in no time at all. If you need some further assistance, feel free to browse our selection of sewing tutorials or ask one of our experts how they would go about tackling this particular project. Have fun sewing your very own pillowcase!
FAQs
What Stitch is best for pillowcase?
There are a lot of different stitches that can be used for pillowcases, but which one is the best?
The most popular stitch for pillowcases is the French seam. This stitch is simple to do and looks professional. It’s also the least expensive stitch to use.
Another good stitch for pillowcases is the bias seam. This stitch has a more decorative look and can be more challenging to do. It also costs a bit more than the French seam, but it’s worth it in terms of quality.
What size is a standard pillowcase?
When it comes to choosing the right pillow size, there are a few things to keep in mind. First, make sure you’re using the standard measurement of 18 inches by 18 inches. This will give you plenty of room to grow and adjust your pillow throughout the years. If you’re not sure what size to get, go with the larger option. Once you’ve picked a pillow size, it’s important to find a case that fits perfectly. Most cases come in different sizes and shapes, so be sure to choose one that will accommodate your pillow comfortably.
How much fabric do I need for one pillowcase?
Assuming you are making a standard pillowcase size of 18 inches by 26 inches, you will need about 2.5 yards of fabric. If you want to make a smaller or larger size, simply add or remove fabric accordingly.