
This article provides a step-by-step guide on how to replace the bobbin winder on a Brother sewing machine. The bobbin winder is an important component of the sewing machine and it needs to be in good working order for quality stitching. This guide will help you understand what tools and materials are needed, as well as walk through the process of replacing the bobbin winder.
By following this guide, anyone can learn to replace their own Brother sewing machine’s bobbin winder with ease. It’s important to note that before beginning any repairs or maintenance to your sewing machine, it should always be unplugged from any power source for safety purposes. Additionally, some tools may require special handling and knowledge; it’s best to consult a professional if you have any doubts about either tool use or repair job completion.
Importance of a functioning bobbin winder
Bobbin winders are an essential component of any sewing machine. Without a functioning bobbin winder, the machine is unable to create even stitches which can be very frustrating and time-consuming for sewers. As such, it is important to ensure that your bobbin winder is in good working order and replace it if necessary.
Overview of the process for replacing a bobbin winder on a Brother sewing machine
Replacing the bobbin winder on a Brother Sewing machine is an easy process that requires just a few tools. With the proper knowledge and steps, you can easily replace your bobbin winder to keep your sewing machine in top working order. This guide provides information on how to replace the bobbin winder with step-by-step instructions.
Before beginning, make sure you have all of the required materials: screwdriver, replacement part(s), lubricant, or oil (optional). Additionally, it’s recommended to read through all of the instructions prior to starting so that you understand each step before attempting them. Once these items are gathered and ready, begin by unplugging the sewing machine from its power source and then removing any screws necessary to gain access to its interior components.
List of tools and materials required:
Here is a list of tools and materials needed before starting:
- screwdriver
- two flathead screwdrivers (one large, one small)
- few cloth rags or paper towels to clean off any dirt or debris
- needle nose pliers for removing screws
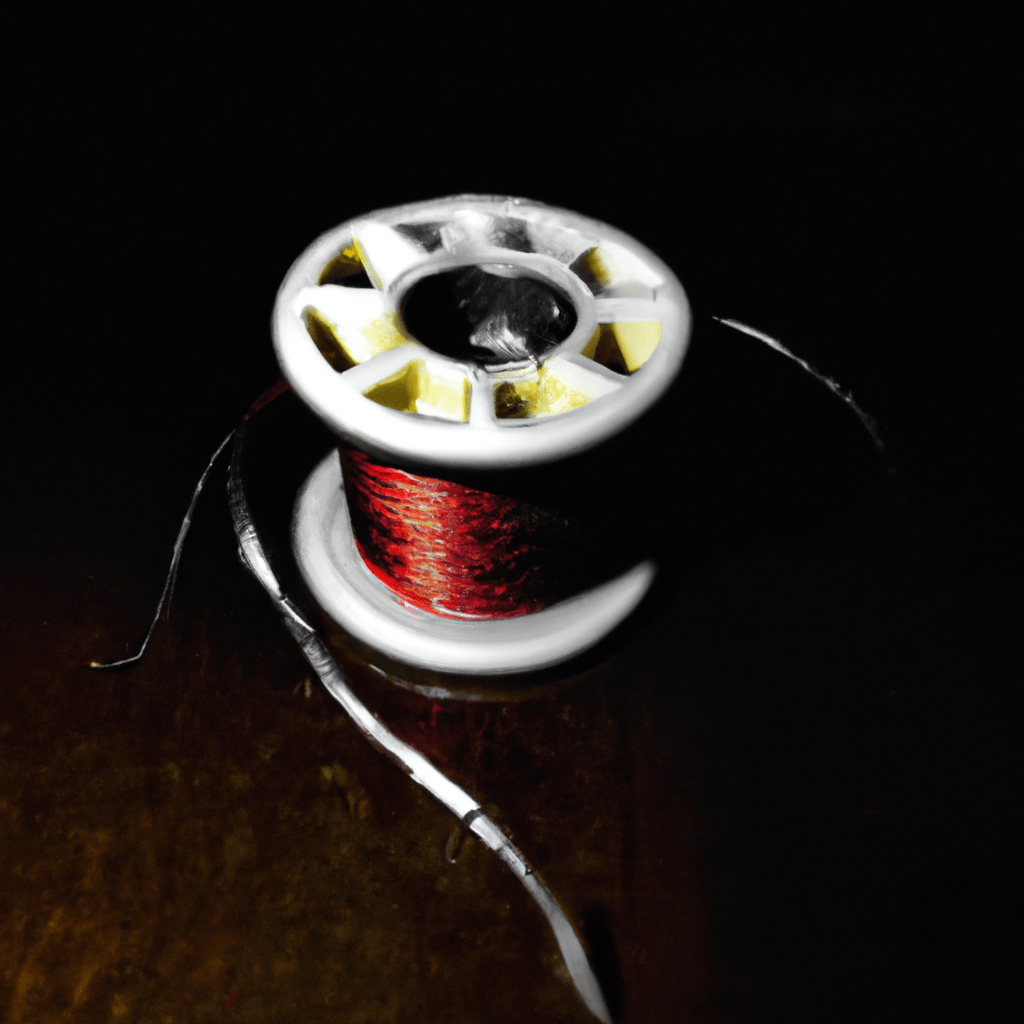
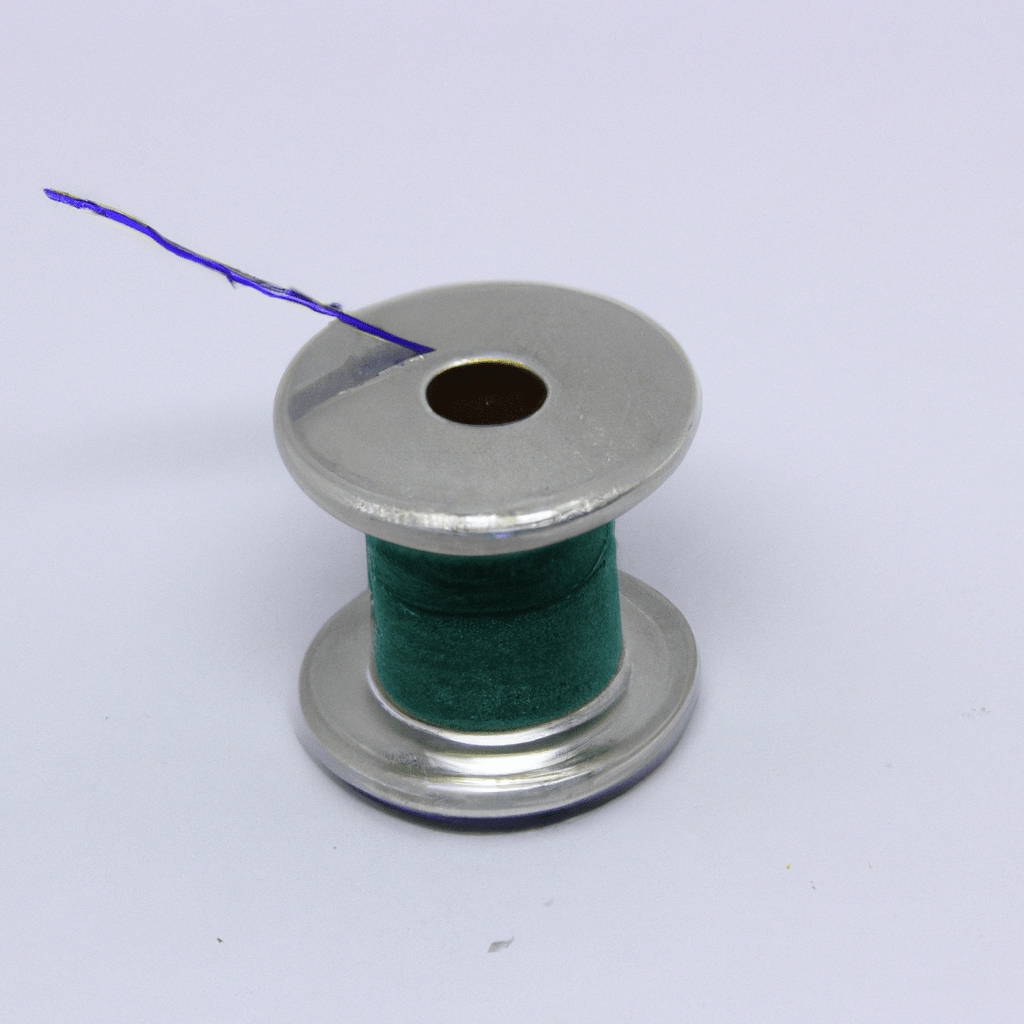
- new Bobbin Winder Tire (if required)
- light machine oil for lubricating parts.
Gathering all these items before beginning your project will ensure that you have everything you need close at hand when it comes time to replace the winder.
Preparation
Preparation is key when it comes to replacing the bobbin winder on a brother sewing machine. Before beginning the repair process, it’s important to make sure you have all of the necessary tools and supplies ready. Additionally, ensure that the machine is unplugged from any power sources before starting work on the repair.
Once all of your supplies are gathered together in one place, familiarize yourself with the step-by-step instructions for replacing the bobbin winder and take note of any safety warnings associated with them. Additionally, if this is your first time working on a sewing machine, consider watching an instructional video for further guidance as well as additional tips about how to replace bobbin winders more efficiently.
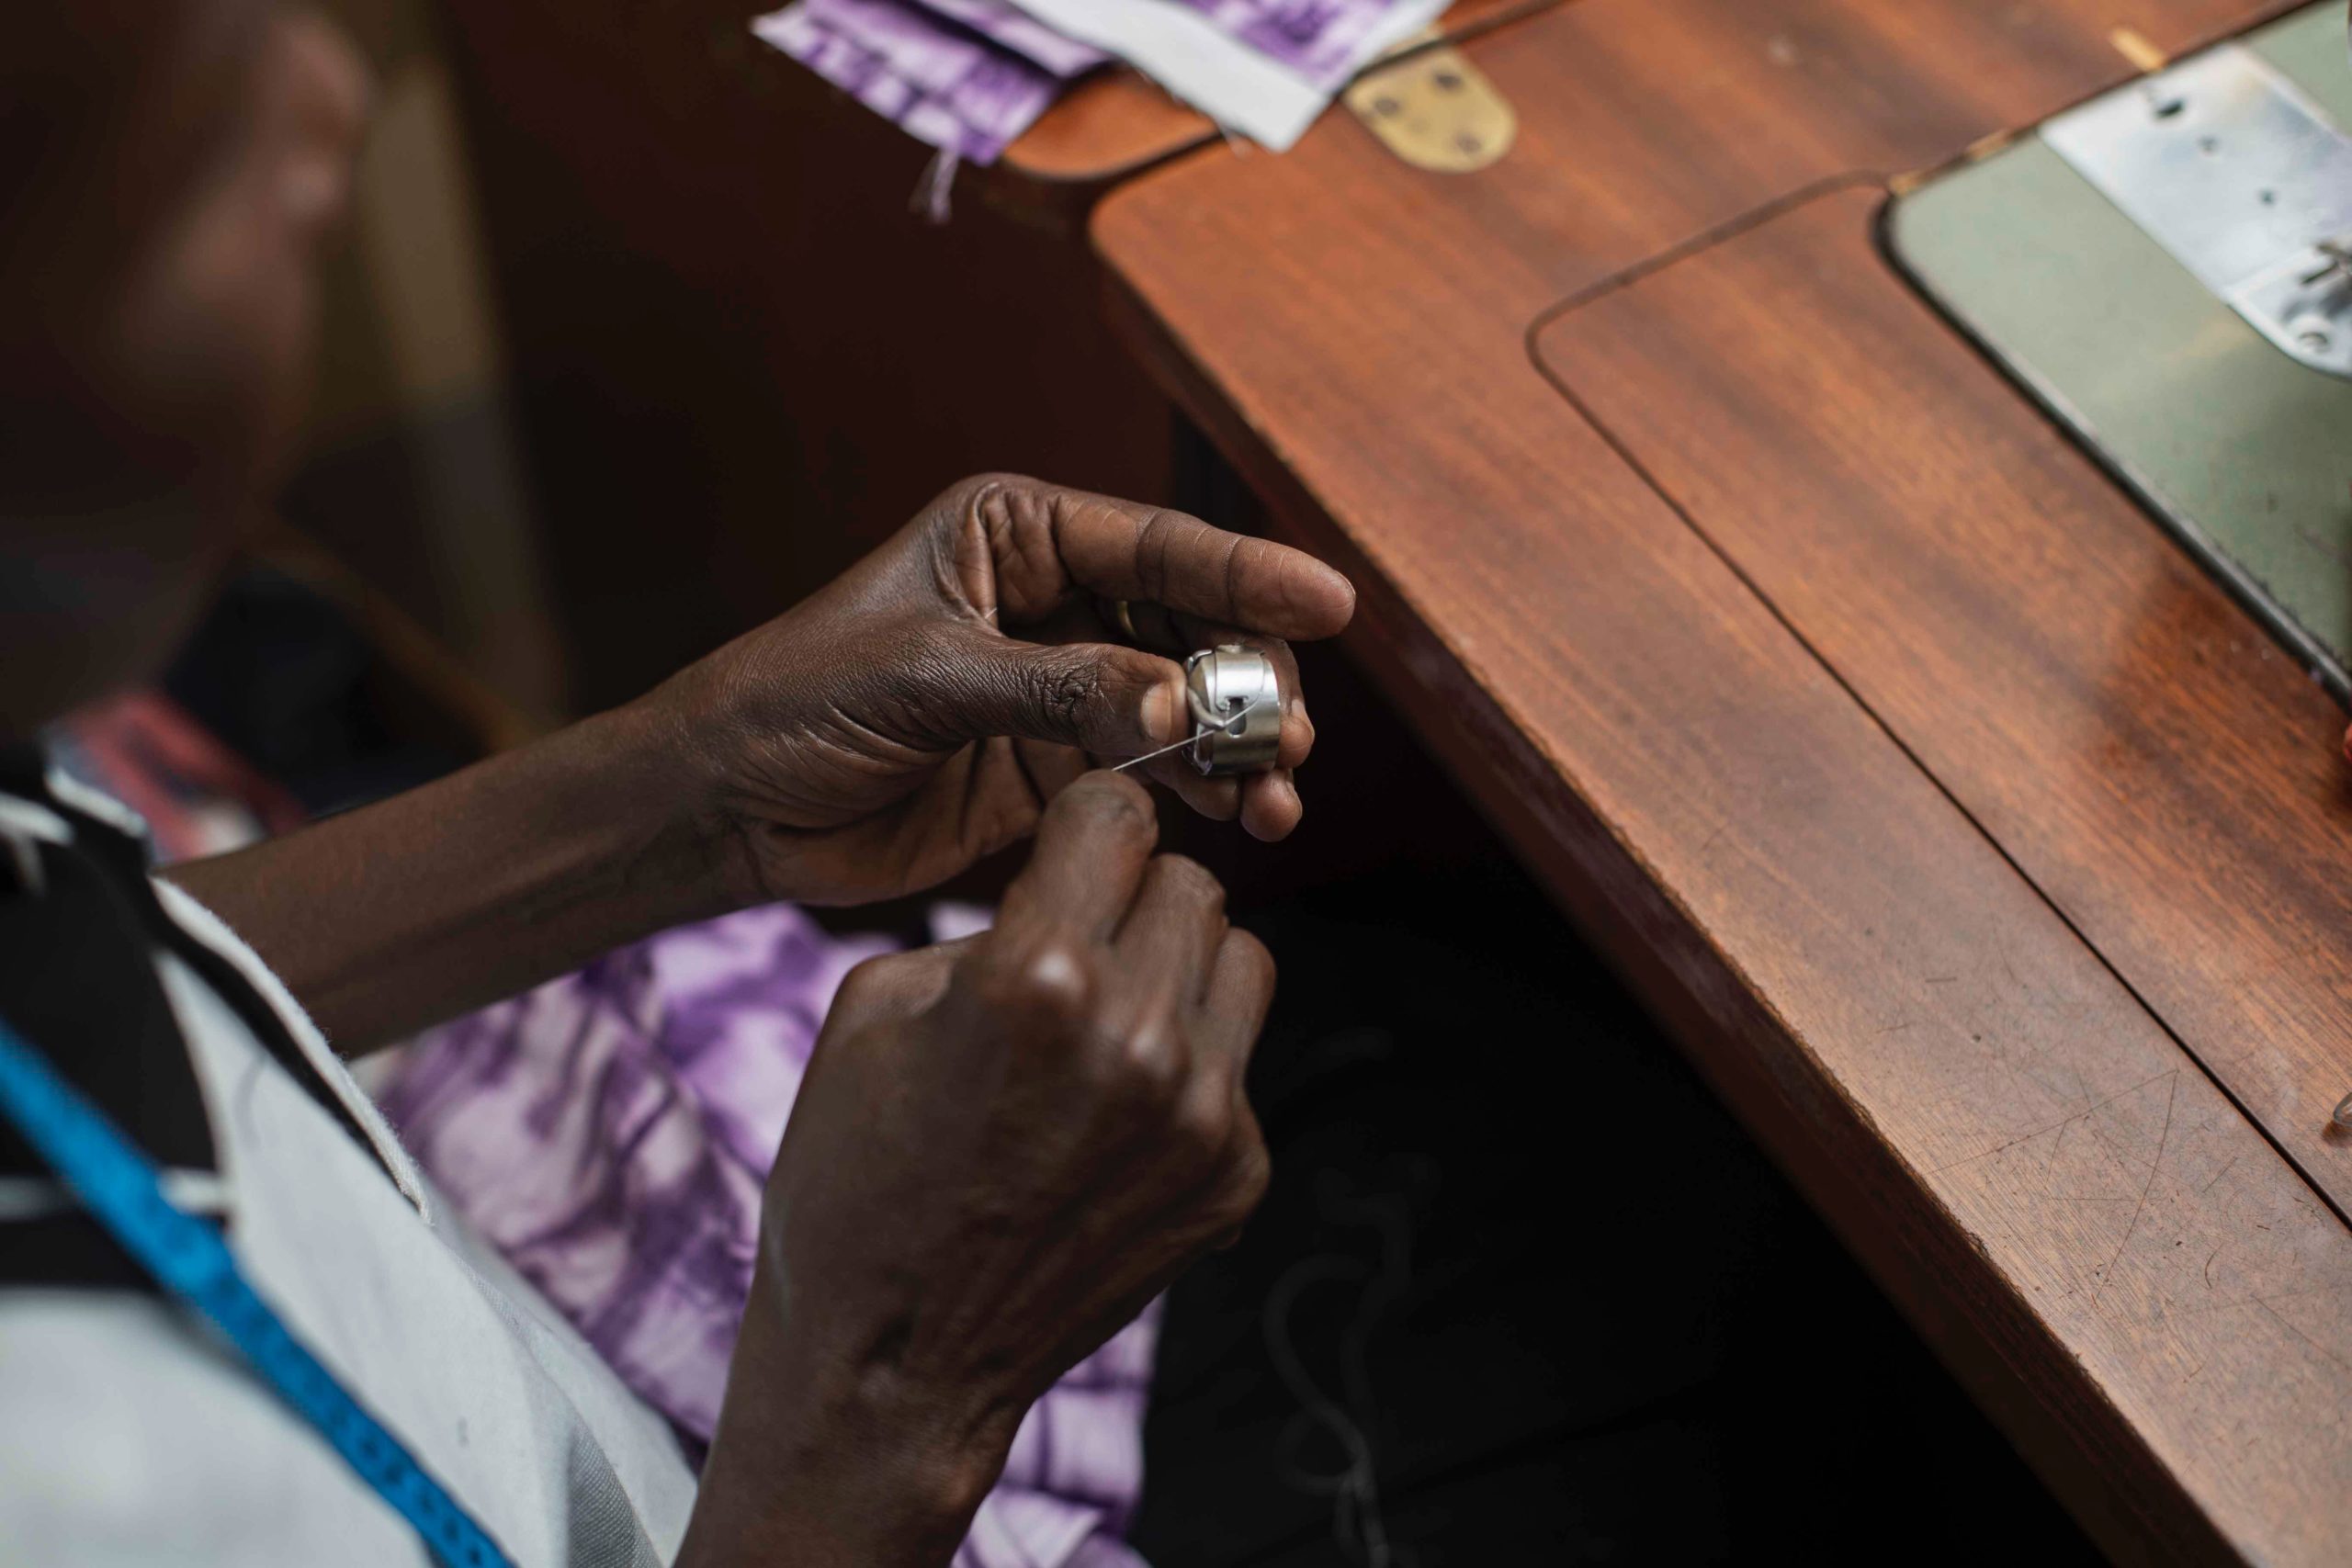
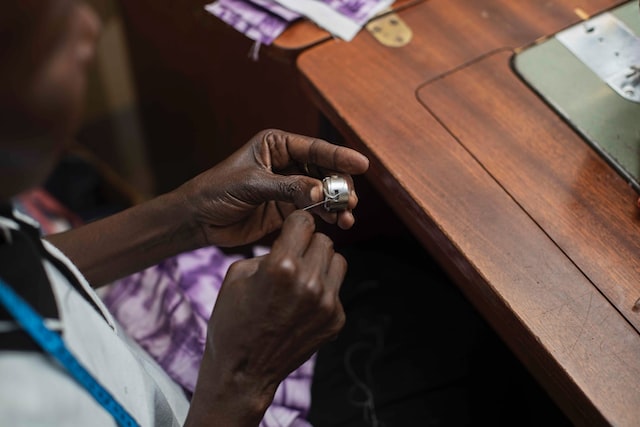
Step-by-step instructions for removing the old bobbin winder
Start by unplugging the power cord from the machine and flipping it over. Next, unscrew the screws located around the base of the machine and remove the casing, followed by releasing any tabs that are holding it in place. Once these steps are complete, locate and remove the old bobbin winder. To do this, use a small screwdriver or needle nose pliers to disconnect it from its housing before lifting it out of place. With all these steps completed successfully, your new bobbin winder can now be installed without having to worry about any damage being caused to your machine.
Explanation of how to disconnect any wiring or mechanisms associated with the bobbin winder
Once unplugged from electrical power, use an adjustable wrench or pliers to remove screws that hold down the panel covering the bobbin winder mechanism. Next, access any wiring or cables connected to the bobbin winder by removing the mounting screws holding them in place. Carefully pull away any connectors attached to these wires before proceeding with the removal of the bobbin winder itself.
Steps for testing the new bobbin winder to ensure it is functioning properly
Firstly, ensure that all parts of the new bobbin winder have been installed correctly and securely according to the manufacturer’s instructions. Secondly, thread some lightweight fabric through the needle and slowly run the sewing machine in order to check for any potential problems or snags. This should be done with caution as incorrect installation can cause damage or malfunction of the machine. Thirdly, periodically check for any signs of wear or tear on both internal and external components such as gears, springs, and shafts; if any faults are detected then these should be addressed immediately before further use.
what to look for when testing the bobbin winder?
First, check if there are any obstructions in the machine’s thread path and remove them. Secondly, make sure that your Bobbin case spring or pin is not damaged or bent which may interfere with its operation. Finally, confirm that there are no loose screws preventing proper contact between the bobbin winder and other parts of the machine.
Conclusion
This article has provided a step-by-step guide on how to replace the bobbin winder on a Brother sewing machine. Replacing this part is an essential part of regular maintenance, as it helps to keep the machine in good working condition and ensures that your fabric is stitched precisely.
The process requires patience and attention to detail, but with the help of this article, even novice sewers can easily learn how to replace their bobbin winder. By following these steps carefully and making sure that all parts are properly secured before use, you will be able to ensure your Brother sewing machine is always running smoothly and efficiently.
Note: The actual steps for replacing the bobbin winder may vary depending on the specific model of the Brother sewing machine, so be sure to consult the user manual for your specific machine.
FAQS
how to switch the bobbin winder off?
First, locate the power switch near the front of your sewing machine. If you have difficulty finding it, consult either the user manual that came with your device or searches online for its location. Once you’ve found the switch, move it to the ‘off’ position and hold down until there is no more movement from the bobbin winder mechanism. This will ensure that all necessary parts are disengaged before switching off power to your device.