
Zigzag stitching is a versatile and essential technique for any sewing enthusiast, offering a stretchable stitch for fabrics that require flexibility and a decorative finish for a variety of projects. If you own a Singer sewing machine, mastering the zigzag stitch can significantly enhance your sewing capabilities. This guide will walk you through the process of creating a zigzag stitch with your Singer sewing machine, answer common questions, and provide tips to ensure your sewing projects turn out beautifully.
Can We Do Zigzag Stitch with a Normal Sewing Machine?
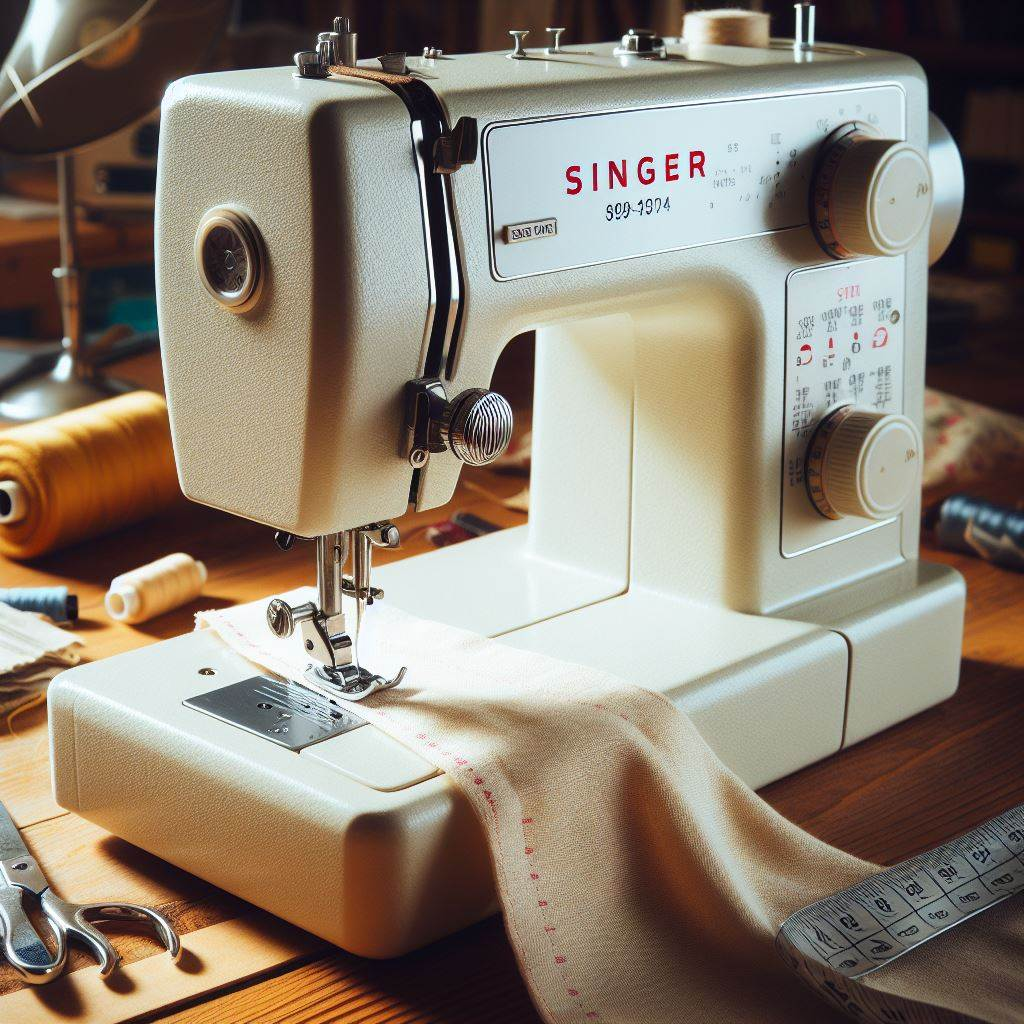
Yes, most modern sewing machines, including basic models, are equipped to perform zigzag stitches. Singer sewing machines, renowned for their durability and versatility, often come with built-in zigzag stitching capabilities. This functionality allows sewers to easily switch between straight stitching and zigzag stitching, making it possible to work on a variety of projects with a single machine.

Which Sewing Machine Part Controls the Zig-Zag Stitch?
The width control of your Singer sewing machine is the key component that controls the zig-zag stitch. This control adjusts how wide the needle moves from side to side, creating the zigzag pattern. Additionally, the stitch length control determines how close the zigzag stitches are to each other. By adjusting these two settings, you can customize the zigzag stitch to suit your specific sewing project needs.
What Setting Do You Set a Sewing Machine for Zigzag Stitch?
To set your Singer sewing machine for a zigzag stitch, follow these general steps:
- Select the Zigzag Stitch: Most Singer sewing machines have a stitch selector dial or a touchscreen interface where you can choose the zigzag stitch. Look for a symbol resembling a zigzag line.
- Adjust Stitch Width: Use the width control to set the desired width of your zigzag stitch. The higher the number, the wider will be the stitch. A setting between 3 and 5 is typical for most projects, but this can vary depending on your specific needs.
- Adjust Stitch Length: The stitch length control adjusts the density of the zigzag stitch. For a tighter stitch, choose a shorter length. A length setting between 1 and 2 is commonly used for stretch fabrics, while a longer length can be used for decorative purposes.
- Test Your Settings: Always test your stitch settings on a scrap piece of fabric similar to your project material. This allows you to adjust the width and length settings before beginning your actual project.
Step-by-Step Guide to Zigzag Stitching on a Singer Sewing Machine
1. Prepare Your Machine
Threading the Machine: Before you begin, it’s crucial to ensure that your Singer sewing machine is correctly threaded. This includes threading the top thread through the machine’s guided paths and ensuring the bobbin thread is properly placed and tensioned. Incorrect threading can lead to stitch quality issues or damage to your machine.
Inserting the Bobbin: Make sure the bobbin is correctly inserted into the bobbin case. The bobbin should unwind in the correct direction according to your machine’s manual, which ensures smooth stitching and prevents jams.
Selecting the Zigzag Stitch Setting: Singer sewing machines typically have a dial, lever, or digital selection for stitch types. Locate the zigzag stitch symbol (often depicted as a zigzag line) and select it. This action adjusts the needle’s movement to create the zigzag pattern.
2. Place Your Fabric
Lifting the Presser Foot: The presser foot holds the fabric against the feed dogs, which move the fabric through the machine. Lift it to position your fabric where you want to start stitching.
Positioning the Fabric: Slide your fabric under the presser foot, aligning the area you wish to stitch with the machine’s needle. Ensure the fabric is flat and not bunched up.
Lowering the Presser Foot: Lower the presser foot to secure the fabric in place. This stability is crucial for even stitching and prevents the fabric from shifting as you sew.
3. Begin Sewing
Starting the Stitch: Gently press on the foot pedal to start the machine. The speed at which you press the pedal controls the sewing speed. Begin at a slow pace until you become comfortable and confident with the process.
Guiding the Fabric: Use your hands to guide the fabric, ensuring it moves smoothly through the machine. However, avoid pulling or pushing the fabric too hard, as the machine’s feed dogs are designed to move the fabric at the appropriate pace.
4. Adjust as Needed
Adjusting Stitch Width and Length: While sewing, you may find the need to adjust the zigzag stitch’s width or length based on your project’s requirements or the type of fabric you’re using. Stretch fabrics, for example, might benefit from a narrower, more flexible stitch, whereas decorative stitching might call for a wider, more pronounced zigzag.
Fine-Tuning Your Settings: Experiment with different settings on scrap fabric before committing to your project. This step ensures you achieve the desired effect without compromising the project’s integrity.
5. Secure the Stitch
Backstitching: When you reach the end of your stitching area, it’s important to secure the stitch to prevent unraveling. Do this by engaging the machine’s backstitch function, if available, sewing a few stitches backward over the zigzag stitch. If your machine lacks a backstitch feature, manually turn the fabric around and stitch over the last few stitches.
By carefully following these detailed steps, you ensure that your zigzag stitching on a Singer sewing machine is not only functional but also aesthetically pleasing. Remember, mastery comes with practice, so don’t hesitate to experiment with different fabrics, stitch settings, and projects to refine your skills.
Enhancing Your Sewing Skills
Mastering the zigzag stitch on your Singer sewing machine opens up a world of sewing possibilities. For further learning, consider exploring hidden stitch techniques for seamless finishes or sewing tips for beginners by hand, which can complement your machine sewing skills and offer insights into hand-finishing techniques.
Conclusion
Mastering the zigzag stitch with a Singer sewing machine is a game-changer for both novice and experienced sewers alike. This guide aims to demystify the process, providing you with a step-by-step approach to harnessing one of the most versatile stitches in your sewing repertoire. Whether you’re working on stretch fabrics, adding decorative touches, or ensuring the durability of your seams, the zigzag stitch offers unparalleled flexibility.
FAQs
1. Can I perform a zigzag stitch on any Singer sewing machine?
Yes, most Singer sewing machines, especially modern models, are equipped with the capability to perform a zigzag stitch. Check your machine’s manual to confirm if this feature is available and how to activate it.
2. What’s the importance of adjusting stitch width and length for zigzag stitching?
Adjusting the stitch width and length allows you to tailor the zigzag stitch to the specific needs of your project. Width determines how far the needle swings from side to side, while length controls how close the stitches are. This customization is crucial for achieving the desired stretch, durability, or decorative effect.
3. Can the zigzag stitch be used for hemming?
Absolutely! The zigzag stitch is ideal for hemming, especially on stretch fabrics, as it allows the hem to retain elasticity. It’s also useful for preventing the fabric edges from fraying.
4. How do I prevent my fabric from puckering when using the zigzag stitch?
Puckering can be minimized by adjusting the tension settings on your machine, using the appropriate needle for your fabric type, and ensuring your fabric is properly stabilized with the right stabilizer or interfacing. Test your settings on a scrap piece of fabric before beginning your main project.
5. Is it possible to do a zigzag stitch on thick fabrics with a Singer sewing machine?
Yes, Singer sewing machines can handle zigzag stitching on thick fabrics, but it’s important to use the correct needle and settings. A thicker needle, such as a denim or leather needle, may be required, along with adjustments to the tension and presser foot pressure. Always test on a scrap piece of your thick fabric to find the best settings.