

Are you among those who want to know How to sew a fabric card holder? It’s time to stitch your way to style with a unique, handcrafted fabric card holder that reflects your personality and keeps your essentials organized. More than just practical, creating your card holder is an expression of your inner fashionista, allowing you to experiment with vibrant fabrics, playful patterns, and personalized touches.
This comprehensive guide is your sewing sidekick, walking you through every step, from selecting the perfect quilting cotton to adding flawless finishing flourishes. So, grab your sewing machine, unleash your creativity, and stitch your way to a stylish card holder that’s as unique as you are!
Key Takeaways:
- Fabric Freedom: Dive into a world of quilting cotton, linen, canvas, and vibrant prints, letting your fabric choice reflect your unique style.
- Sewing Essentials: Master the basics with our list of must-have tools and materials, including your trusty sewing machine, rotary cutter, and fusible interfacing.
- Step-by-Step Stitching: Follow our clear instructions to confidently cut, assemble, and finish your card holder with a professional touch.
- Beginner-Friendly Tips: Conquer common challenges and learn helpful techniques to ensure your straight stitches are flawless and your topstitching is on point.
Part 1: Prep & Materials – Choose Your Fabric Adventure!
Before we dive into the stitching fun, let’s gather our supplies and explore the exciting world of fabric selection!
Fabric Frenzy: Choosing the Perfect Material
The foundation of your cardholder lies in the fabric you choose. Quilting cotton is a popular choice for its durability and vibrant colors, ensuring your masterpiece withstands daily use without fraying. For added texture and richness, consider linen or canvas. Feeling playful? Embrace bold prints and patterns that match your unique style. Get inspired by browsing online resources like Sew Simple Home and Instructables, where you’ll find endless fabric inspiration and sewing tips.
Don’t forget these essential materials:
- Fusible interfacing: This magical fabric adds structure and stability to your cardholder. Opt for options like Pellon 911FF Fusible Interfacing.
- Sewing thread: Coordinate the color with your chosen fabric for a cohesive look.
- Rotary cutter and cutting mat: Ensure precise and clean fabric cuts for a professional finish.
- Sewing machine: Your trusty sewing companion.
- Scissors, pins, and ruler: Sewing essentials for measuring and marking.
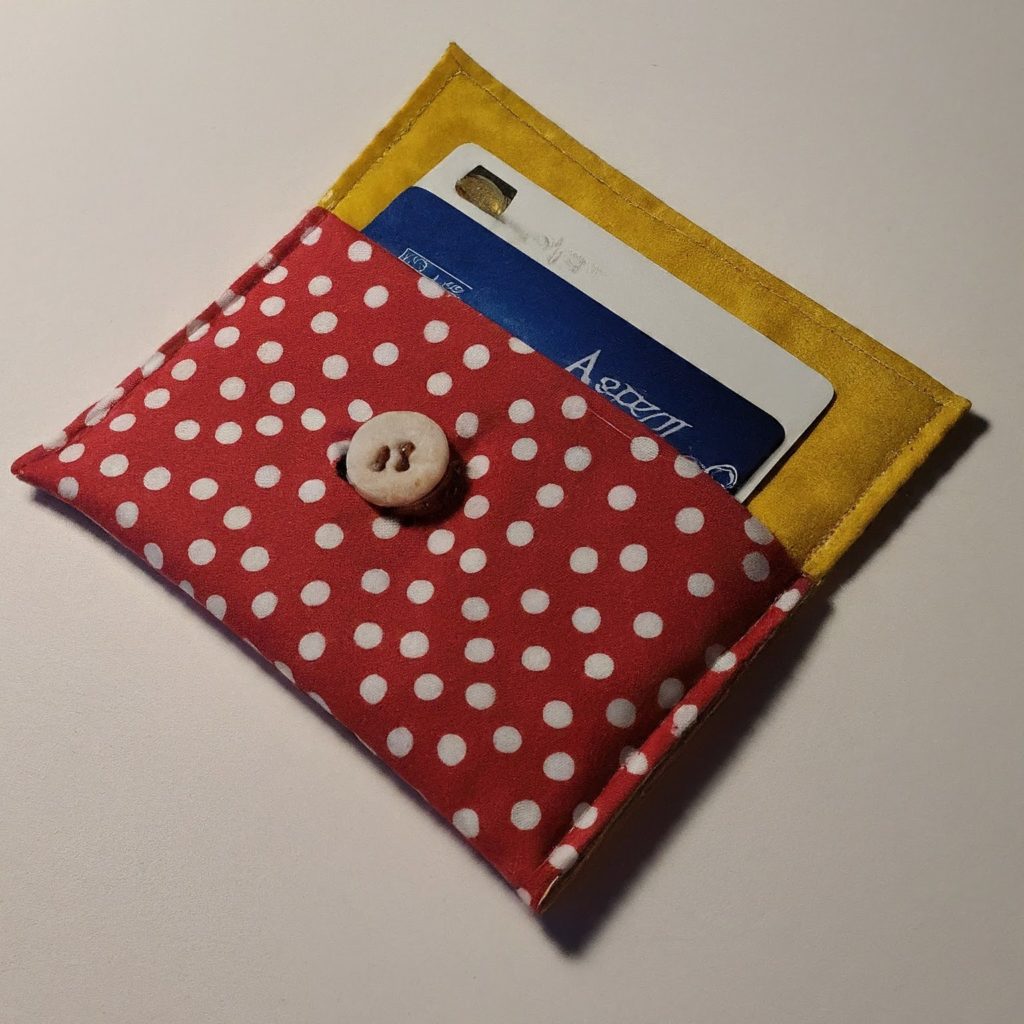
- Optional: Add a personal touch with Velcro closure, decorative buttons, or ribbon.
Up next: Let’s get stitching! Prepare to be amazed by the sewing process…
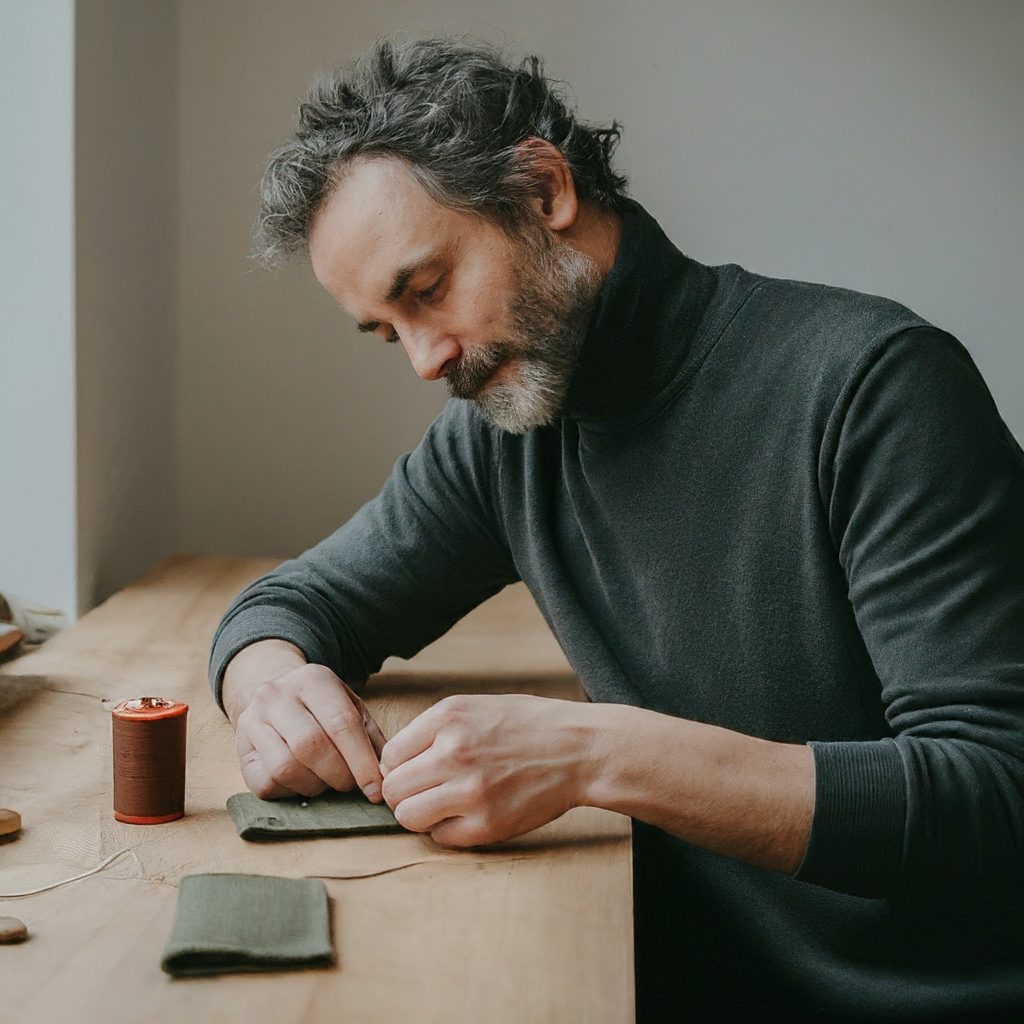
Now that your materials are assembled, it’s time to orchestrate your sewing symphony!
Part 2: Sewing
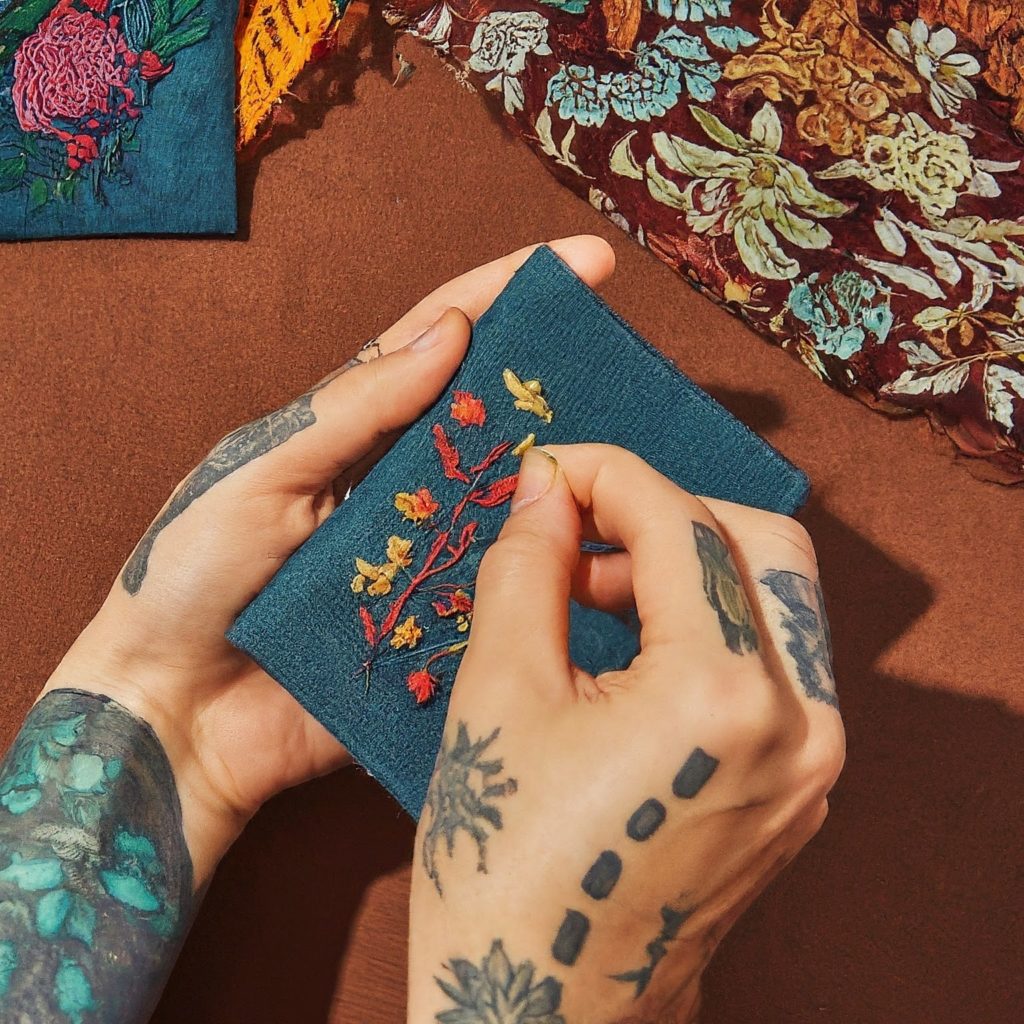
Cutting & Prepping: Where Precision Meets Creativity
- Template Time: Find a free cardholder template online or design your own based on your desired size and number of card slots. Remember, this is your project, so let your creativity flow!
- Fabric Feast: Using your chosen template, rotary cutter, and cutting mat, meticulously cut two fabric pieces (one for the outer layer and one for the lining) and a slightly smaller piece of fusible interfacing. Accuracy is key, so take your time and enjoy the satisfying snip-snip-snip!
- Interfacing Magic: Following the manufacturer’s instructions, iron the fusible interfacing to the wrong side of one fabric piece. This adds crucial structure and stability, ensuring your cardholder holds its shape with pride.
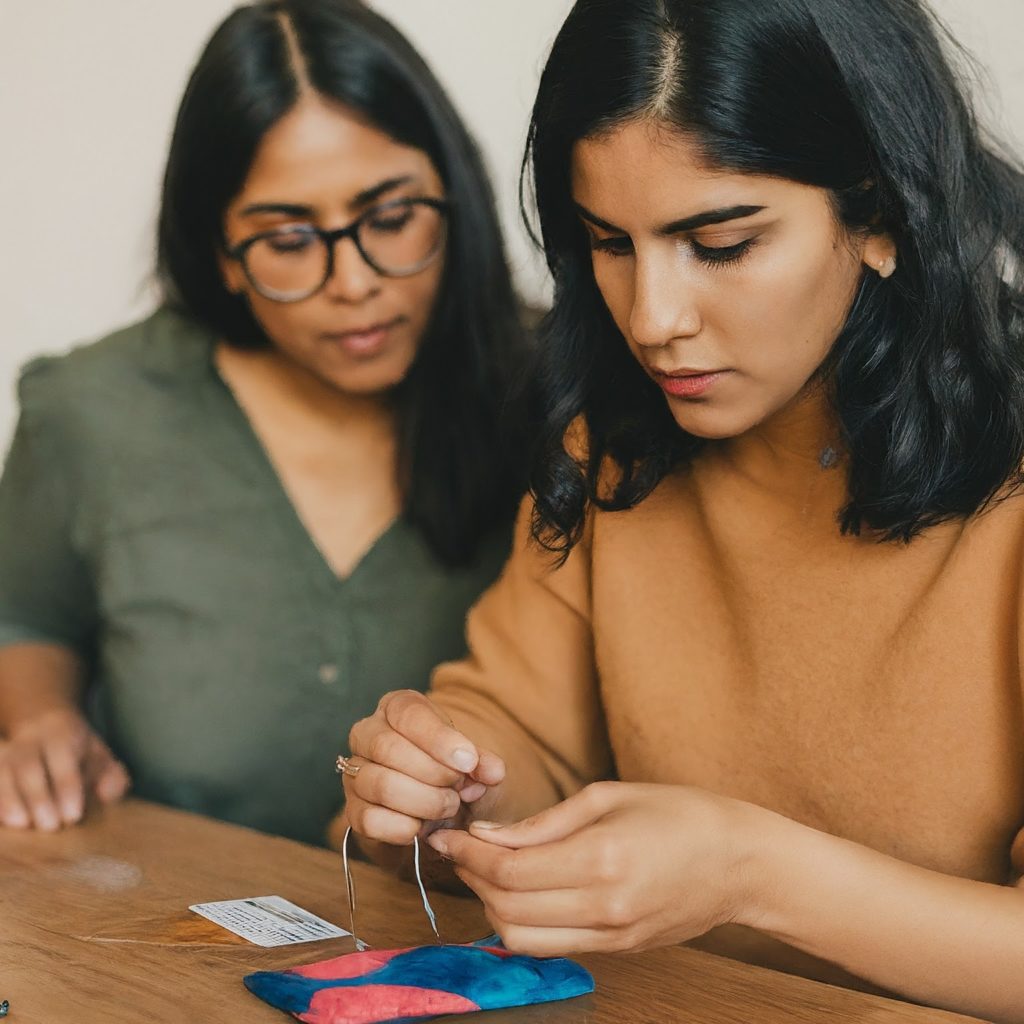
Assembling & Sewing: Stitching Your Masterpiece Together
- Mark Your Territory: If you’re adding card slots, use a ruler and pen to mark their placement on the wrong side of the fabric with interfacing. Precision is essential, so double-check your measurements!
- Pin & Stitch Symphony: Place the right sides of the fabric pieces together, secure them with pins along the edges (leaving an opening for turning), and confidently sew with a straight stitch along the pinned edges. Imagine your sewing machine singing a happy tune as it creates the foundation of your project.
- Card Slot Creation: If you opted for card slots, sew straight lines across the marked lines on the inside, creating pockets for your precious cards. Visualize your cardholder holding your essentials neatly and securely.
- Closure Celebration: Choose your closure method (Velcro, snaps, or buttons) and attach it according to the chosen method. Instructables offers a clear tutorial on adding a Velcro closure, perfect for those who love convenience.
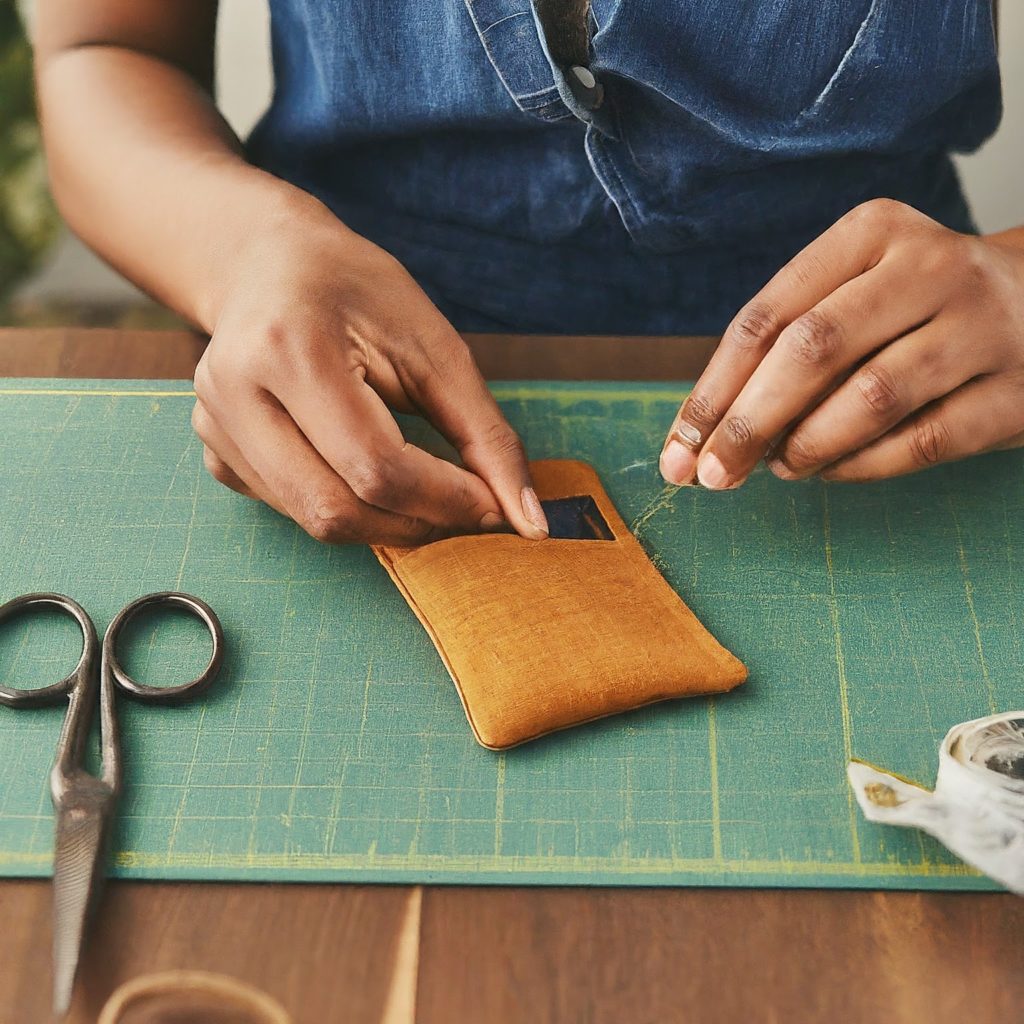
Finishing Touches: The Grand Finale of Flair
- Corner Clipping: Carefully clip the corners diagonally before turning your project right-side out. This small step ensures smooth curves and eliminates unwanted bulk.
- Turning & Pressing: Gently turn your card holder right-side out through the opening. Use a blunt tool to push out the corners and iron flat for a crisp and polished look. Imagine your card holder coming to life, ready to hold your essentials in style.
- Topstitch Triumph: Sew a decorative topstitch around the entire perimeter of the cardholder, close the opening securely, and reinforce the seams. This adds a professional touch and makes your creation truly shine. Tutorials from JMB Handmade and Heather Handmade demonstrate helpful topstitching techniques, so you can achieve that perfect finishing touch.
- Thread Trimming Tune-Up: Snip off any loose threads for a neat finish. Your cardholder is almost complete!
Congratulations! You’ve successfully stitched your way to a stylish fabric card holder. From choosing the perfect fabric to adding those finishing flourishes, you’ve poured your creativity and skill into this unique piece.
FAQs: How To Sew a Fabric Card Holder?
How do I pick the right fabric?
Consider durability (quilting cotton is a great choice) and aesthetics. Explore different textures and prints to match your style. Feeling sustainable? Fabric scraps can work wonders!
Can I make this with scraps?
Absolutely! Use fabric scraps for a unique and eco-friendly touch. Just ensure they’re large enough for your desired design.
Tips for sewing straight stitches?
Use a seam guide, maintain consistent pressure on the foot pedal, and practice! Many online resources offer tips for mastering straight stitches.
Ready to personalize your cardholder further? Get creative with decorative buttons, ribbons, or embroidery! The possibilities are endless.
This guide has equipped you with the knowledge and inspiration to stitch your own stylish fabric card holder. Remember, sewing is a journey of exploration and enjoyment. So, experiment, have fun, and stitch your way to a one-of-a-kind creation that reflects your unique style!
Also read: Best unique sewing projects for sewing this year
[…] Also read: how to read fabric card holder. […]