
Unlock the secret to flawless zipper sewing with our essential guide on the Best Sewing Techniques for Zippers. Say goodbye to wonky zippers and hello to professional-looking finishes that will elevate your sewing projects to a whole new level. Whether you’re a zipper newbie or a seasoned pro, this guide will take you through the most effective tips and tricks, ensuring smooth zipping every time.
Key Takeaways:
- Understanding various zipper types and their specific sewing techniques.Step-by-step guidance for sewing different zipper styles.Common mistakes to avoid and expert tips for flawless zipper installation.
Understanding Zippers
Zippers are an essential component in many sewing projects, from clothing to accessories. A good understanding of their parts and types is crucial for selecting the right zipper and applying the appropriate sewing technique. For an in-depth guide, check out “All About Zippers (Ultimate Guide To Sewing Zippers!)“.
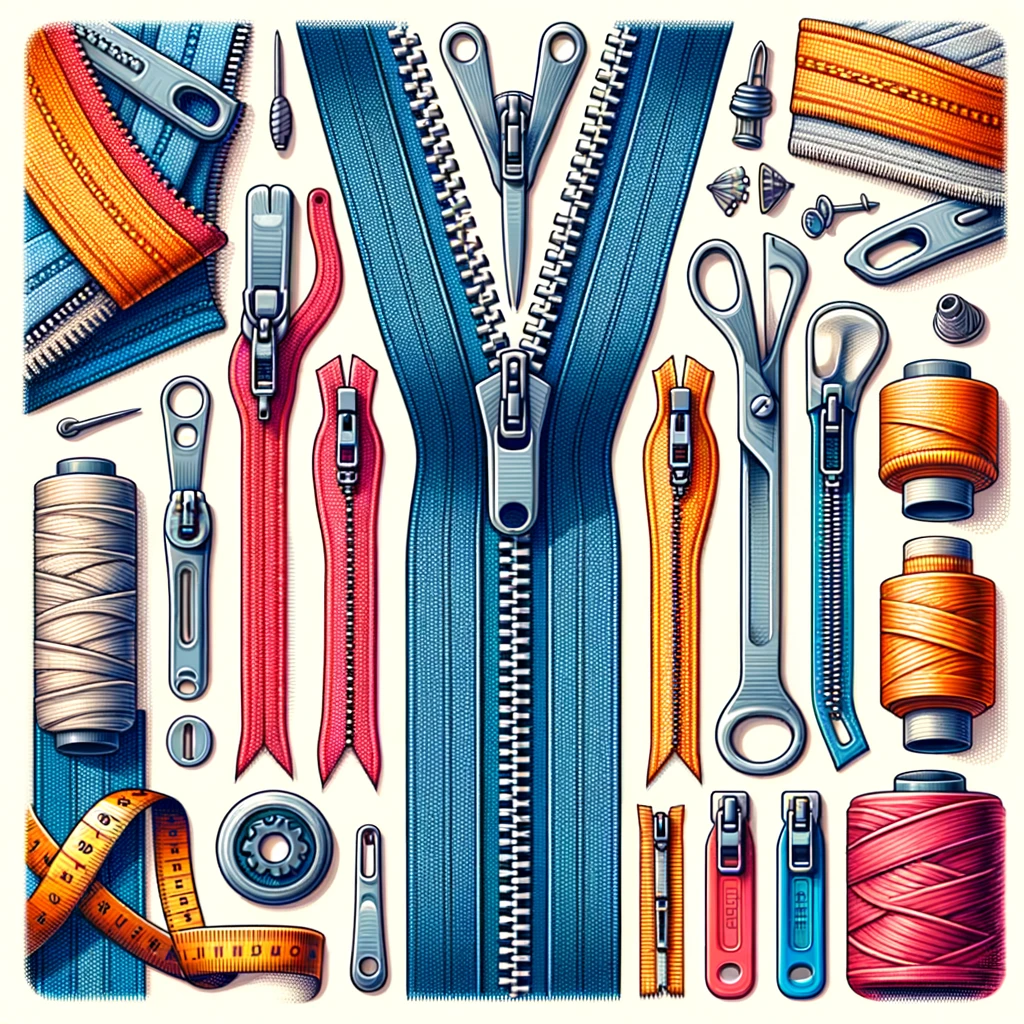
Parts of a Zipper
- Pull/Slider: The part used to open or close the zipper.
- Teeth: Interlocking elements that keep the zipper closed.
- Tape: The fabric to which the teeth are attached.
Zipper Installation Techniques
Installing zippers can be a daunting task for beginners, but understanding various techniques can simplify the process. Threads Magazine offers an excellent resource with their article on “9 Zipper Installation Techniques“.
Common Techniques
- Centered Zipper: Often used in the center back seam of dresses and skirts.
- Invisible Zipper: Perfect for creating a seamless look.
- Exposed Zipper: A stylish choice where the zipper teeth are visible.
Step-by-Step Guides for Different Zipper Types
Understanding the nuances of different zipper types can significantly improve the quality of your sewing projects.
Centred Zippers
Steps:
- Select a suitable zipper and mark the fabric.
- Sew the fabric together from the hem to the notch.
- Press the seam open and place the zipper aligned with the seam.
Concealed/Invisible Zipper
Steps:
- Mark a notch on the fabric level with the zip stopper.
- Sew an open seam and press open.
- Attach the right side of the zipper to the right side of the fabric.
Exposed Zipper
Steps:
- Mark the placement of the zipper on the fabric.
- Add interfacing and carefully cut a rectangle for the zipper.
- Stitch the zipper in place, ensuring the teeth are exposed.
Common Mistakes and Tips
Even experienced sewers can encounter issues when installing zippers. Here are some common pitfalls and how to avoid them:
- Misalignment: Ensure the zipper teeth align with the seam or desired position.
- Fabric Puckering: Avoid stretching the fabric while sewing the zipper.
- Visible Stitches on Invisible Zippers: Use an invisible zipper foot for a seamless finish.
Expert Tips:
- Use a Zipper Foot: This attachment allows for closer stitching to the zipper teeth.
- Baste First: Hand baste the zipper in place before machine sewing for greater accuracy.
- Choose the Right Length: Trim or choose a zipper that matches the length of your seam.
For more creative sewing projects, explore “7 Fun and Functional Sewing Projects for Adults“.
Trouser Fly Zipper
A crucial element in pants and jeans, mastering the trouser fly zipper is a valuable skill.
Steps for Trouser Fly Zipper
- Prepare the trouser pieces with a 1cm ‘step.’
- Attach interfacing to the under-wrap and overwrap pieces.
- Stitch one side of the zipper between the under-wrap and trouser leg.
- Sew the other side of the zipper to the overwrap.
- Align the front leg pieces, sew from the crotch to the zipper notch, and press the seam.
- Pin and sew the overwrap to cover the zipper.
Open-Ended Zipper
Commonly used in jackets, the open-ended zipper provides a unique and functional design element.
Steps for Open-Ended Zipper
- Decide the placement and mark the fabric.
- Cut a rectangle for the zipper and turn the cut sections under.
- Place the zipper so that its teeth are exposed.
- Topstitch the zipper in place.
For more insights, watch:
Additional Zipper Types
Beyond the basics, there are numerous other zipper types to explore, each with its own set of challenges and techniques.
Examples of Other Zippers
- Water-resistant zippers: Ideal for outdoor gear.
- Decorative Zippers: Add a stylish flair to any project.
- Separating Zippers: Used in jackets and coats.
Frequently Asked Questions
Let’s address some of the most common queries about sewing zippers.
How Do I Choose the Right Zipper for My Project?
- Consider the function of the zipper (e.g., decoration, closure).
- Match the zipper type to the garment style (e.g., invisible for dresses).
Can I Shorten a Zipper?
- Yes, zippers can be shortened by carefully removing teeth and creating a new stopper.
What is the Best Way to Avoid Puckering When Sewing Zippers?
- Use stabilizers or interfacing.
- Sew slowly and avoid stretching the fabric.
For more detailed tutorials, visit:
Advanced Techniques and Tips
As you gain experience, experimenting with advanced techniques can enhance your sewing projects.
- Hand-Picked Zippers: For a couture finish, consider hand-sewing your zippers.
- Zippers in Knit Fabrics: Use a stretch or ballpoint needle to prevent skipped stitches.
Conclusion
Mastering the art of sewing zippers opens up a world of possibilities in your sewing projects. With practice, patience, and the right techniques, you can achieve professional-looking results every time.