
Leather sewing can be a tricky task, with many potential problems that could arise if not done correctly. Do you ever wonder what causes the stitches to bunch up or why you can never seem to get the leather just right?
In this article, we’ll provide a comprehensive guide on how to avoid and tackle some of the most common leather sewing problems and mistakes so that you can DIY your own creations with ease!
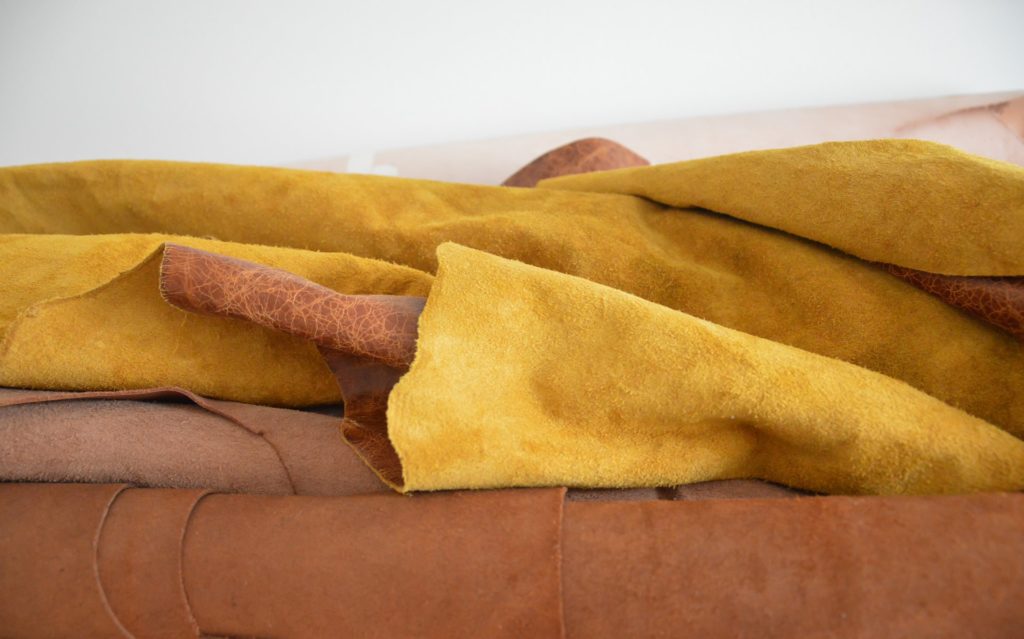
Basic Leather Sewing
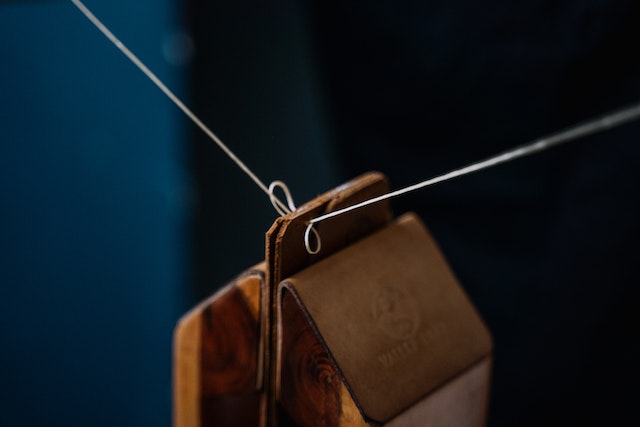
Assuming you have all the basic leather sewing tools, like a heavy-duty needle, strong thread, a thimble, and an awl, there are 3 main types of stitches you’ll use when sewing leather: the running stitch, the backstitch, and the saddle stitch.
The running stitch is the most basic stitch and is also the quickest to do. It’s perfect for simply holding two pieces of leather together. To do a running stitch, poke your needle in and out of the leather at equal intervals. The closer together your poked holes are, the stronger your seam will be. But if you’re just starting out or need to save some time, making your holes further apart is perfectly fine.
The backstitch is a bit more complicated than the running stitch but is still fairly easy to do. It’s great for seams that will be under a lot of stress since it’s super strong. To do a backstitch, poke your needle through one side of the leather then come up from the other side a few hole-widths away. Poke your needle down through the first side again then come up through the second side right next to where your first stitch came up. Repeat this process until you reach the end of your seam.
The saddle stitch is similar to the backstitch but adds an extra layer of reinforcement that makes it even stronger.
Common Leather Sewing Problems
When it comes to leather sewing, there are a few common problems that can occur. Here are some tips on how to avoid them:
- Uneven stitching – when sewing leather, it’s important to use an even stitch. Otherwise, the leather can pucker and cause the stitches to be uneven.
- Puckering – this can happen if the thread is too tight or if the fabric is not smooth. To avoid puckering, make sure to use a walking foot and loosen the tension on your sewing machine.
- Tearing – if you’re not careful, it’s easy to tear leather while sewing. To prevent this, use a sharp needle and take your time.
- Holes – another common problem when sewing leather is creating holes in the fabric. This can happen if the needle is too small or if you sew too fast. To avoid this, use a bigger needle and go slowly.
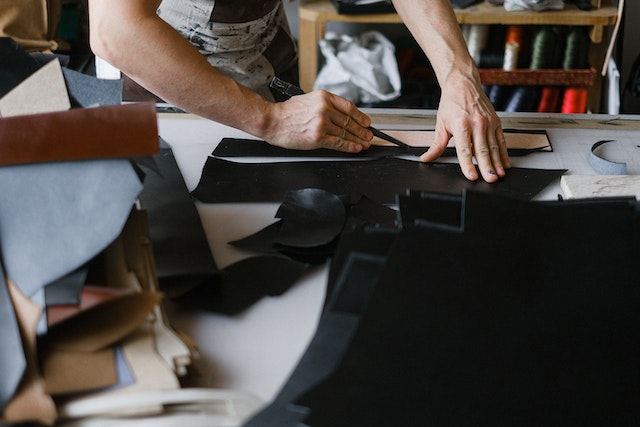
- Familiarize yourself with your materials before starting – it’s important to know what kind of leather you’re working with before starting to sew. Different types of leather have different properties and behave differently when sewn. Therefore, it’s crucial that you familiarize yourself with your materials before beginning any project.
Tools and Materials for Leather Sewing
Assuming you have a sewing machine and leather needles, the other tools and materials you’ll need for leather sewing are:
-A sharp pair of scissors or rotary cutter. You’ll need a sharp blade to cut through leather without fraying or tearing the material.
-An awl. This is a handy tool for punching holes in leather (for stitching or lacing) and for creating evenly spaced perforations (for decorative purposes).
–Leather lacing or thread. You’ll need something strong and thick to sew through leather without breaking the thread. A waxed polyester thread is a good option.
-A thimble. This will protect your finger from the needle while you’re sewing.
-A ruler or measuring tape. This is essential for getting precise measurements when cutting leather pieces.
Tips on How to Avoid Problems with Leather Sewing
One of the most common problems with leather sewing is moisture damage. Leather is a natural material that is very absorbent, so it can easily be damaged by water. To avoid this, always use a water-resistant leather sealer on your leather before sewing. This will help to protect the leather and keep it from drying out and cracking.
Another common problem is stitching through the leather itself. This can cause the needle to break or the thread to snap. To avoid this, always use a dedicated leather sewing needle and thread. These are specifically designed for sewing through thick materials like leather and will hold up better than regular needles and thread.
Finally, be careful not to overstretch the leather while you’re sewing. This can cause the stitches to pop or the fabric to tear. If you need to stretch the leather, do it gently and slowly so you don’t damage it.
Step-by-Step Instructions on Simple Leather Projects
If you’re looking for some simple leather projects to get started with, we’ve got you covered. Here are step-by-step instructions on how to make a few easy and popular leather items.
- Make a Simple Leather Bracelet
This project is perfect for beginners. All you need is a strip of leather (about 1/2 inch wide and 6 inches long), a needle, and thread. Simply fold the strip in half lengthwise, then sew the two ends together with a running stitch. Trim any excess thread, and you’re done!
- Sew a Leather Key Fob
This project is also great for beginners. You’ll need two pieces of leather (each about 2 inches by 4 inches), a needle, and thread. Place the two pieces of leather together, wrong sides facing out, and sew them together along all four sides with a whipstitch or running stitch. Trim any excess thread, and your key fob is finished!
- Create a Customized Leather Journal Cover
For this project, you’ll need one piece of leather (about 18 inches by 24 inches), a needle, and thread. Fold the piece of leather in half lengthwise so that it’s 18 inches by 12 inches, then sew the two sides together with a whipstitch or running stitch. Once the sewing is complete, trim any excess thread and decorate your journal cover however you like!

Special Techniques and Tricks for Advanced Leather Sewers
Helpful tip is to use a die-cutter to create perfect holes for lacing or stitching. This will give your project a much neater and more polished look. Finally, if you’re working with particularly delicate or fragile leather, you may want to consider using bonding agent to keep your stitches in place. This will ensure that your seams are extra strong and less likely to tear out over time.

Problem-Solving Tips & Techniques
As someone who loves to sew, you probably often find yourself working with leather. While leather can be a great fabric to work with, it can also present some problems. Here are some tips and techniques for solving the most common leather sewing problems:
-If your leather is too stiff, try soaking it in water for a few minutes before beginning to sew. This will make it more pliable and easier to work with.
-If your leather is tearing easily, try using a fabric backing behind it. This will give it some stability and prevent it from tearing.
-If you’re having difficulty getting your needle through the leather, try using a bigger needle or a leather needle. These are specifically designed for working with this type of fabric.
-If your stitch line is becoming visible on the right side of the fabric, try using a topstitching thread that matches the color of your leather. This will help blends the stitches in and make them less noticeable.

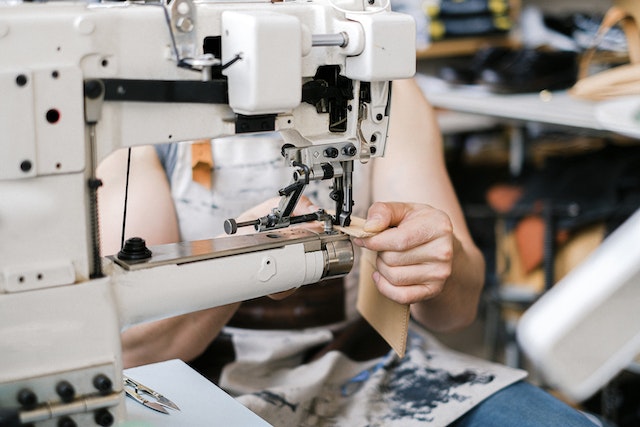
How to fix the tension on an industrial sewing machine when sewing leather?
If you’re having tension issues when sewing leather, there are a few things you can do to try and fix the problem. First, check to make sure that the presser foot is properly positioned. If it’s not, it can cause the needle to skip or miss stitches.
Secondly, please take a look at the tension regulator on your machine and make sure it’s set to the proper tension. Lastly, check your stitch length and width and adjust accordingly. These are just a few things that can help alleviate tension issues when sewing leather.

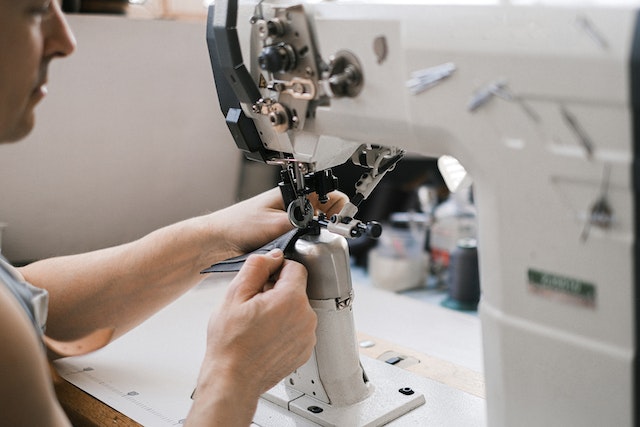
How to fix sewing machine tension for leather?
If the tension on your sewing machine is too loose, the stitches will be larger and less consistent. If the tension on your sewing machine is too tight, the stitches will be smaller and more consistent. You can easily adjust the tension on most sewing machines by turning a knob or screw at the top of the machine. For leather, you want to use a slightly tighter tension than you would for other fabrics. This will help prevent the stitches from ripping out of the leather.

Conclusion
Working with leather, while enriching and rewarding, can be quite a challenge. In this article, we have taken you through all the basic leather sewing problems and provided practical tips on how to best avoid them. With so much of the basics now covered, you will no doubt find yourself feeling more than confident in taking any further bigger steps into the world of leather crafting. We hope that you’ve gained some valuable insight from our guide and wish you all the best for your ventures in Professional Leather Sewing!

FAQs
Can You Sew Leather with a Regular Sewing Machine?
Although you can sew leather with a regular sewing machine, it’s not always the best choice. For a better understanding of this question you can visit our complete guide here
How do you make leather easier to sew?
One way to make leather sewing easier is to use a seam ripper. This tool helps you remove the stitches along the edge of your seam, making it easier to sew through the leather. You can also try using a zigzag stitch when sewing leather because it creates less bulk in the fabric. And lastly, use an adhesive that is specifically designed for leather — these products help keep the fibers in place while you sew.
[…] 16 needles is typically used for these types of fabrics.For heavy-weight fabrics such as denim or leather, you will need an even larger needle than you would use for medium-weight fabrics. A size 18 or 20 […]
[…] your sewing machine isn’t working properly, there are a few things you can do to troubleshoot the problem. First, check that the needle is inserted correctly and is the correct size for the fabric […]