

Threading a bobbin brother can be a little tricky at first, but with this guide by your side, you’ll be a pro in no time! In this guide, we’ll teach you all about the different components of a bobbin brother and how to thread them correctly. Plus, we’ve included some helpful tips and tricks to make the process even easier. So don’t wait any longer – start sewing like a pro today!
What is a Bobbin Brother?
A bobbin brother is a unique type of sewing machine that has a built-in spool holder. This means that you can easily thread the machine without having to remove the fabric from the loom. Not only is this an easy task, but it’s also a fast one! If you’re new to sewing, or just don’t have time to remove the fabric from the loom every time you need to thread your machine, a bobbin brother is perfect for you. read more
How to Thread a Bobbin Brother?
No matter what type of machine you use, following these simple steps will ensure perfect sewing every time. So don your safety glasses and let’s get started!
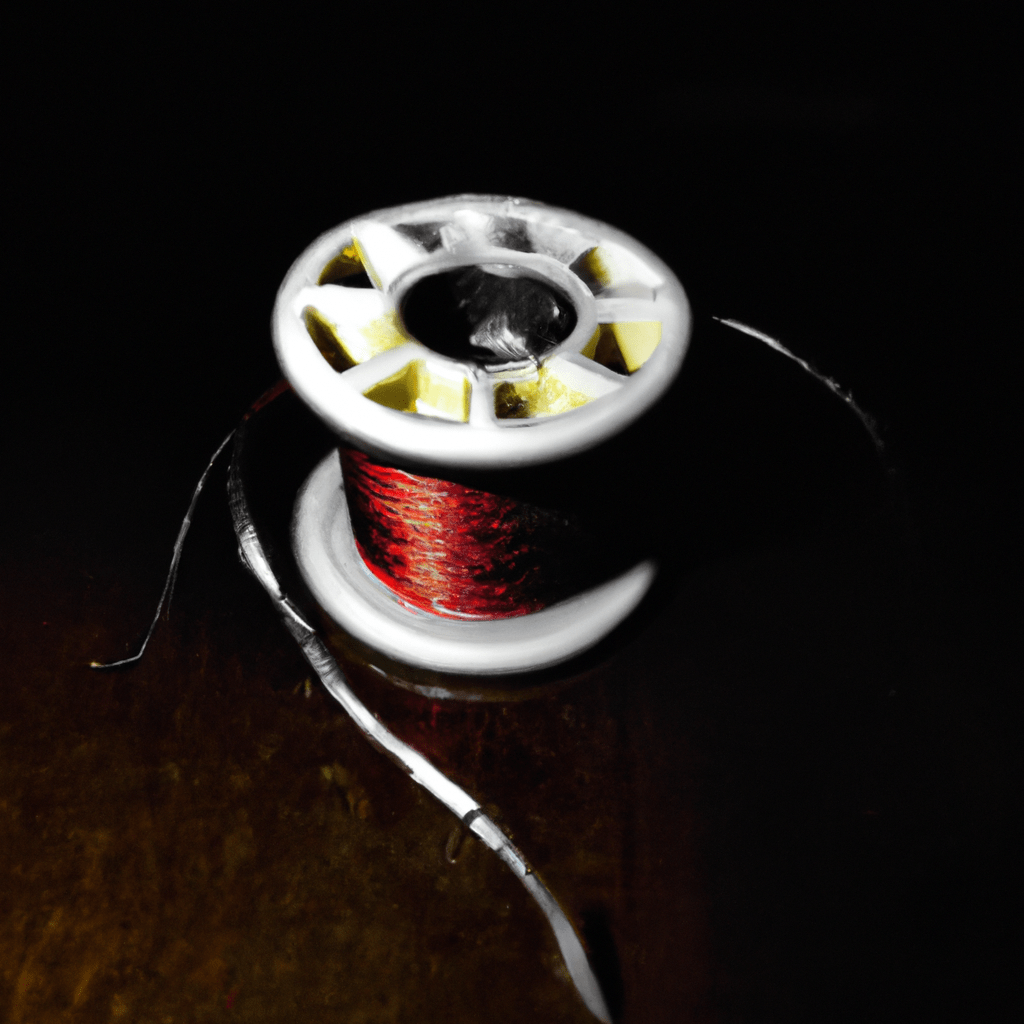
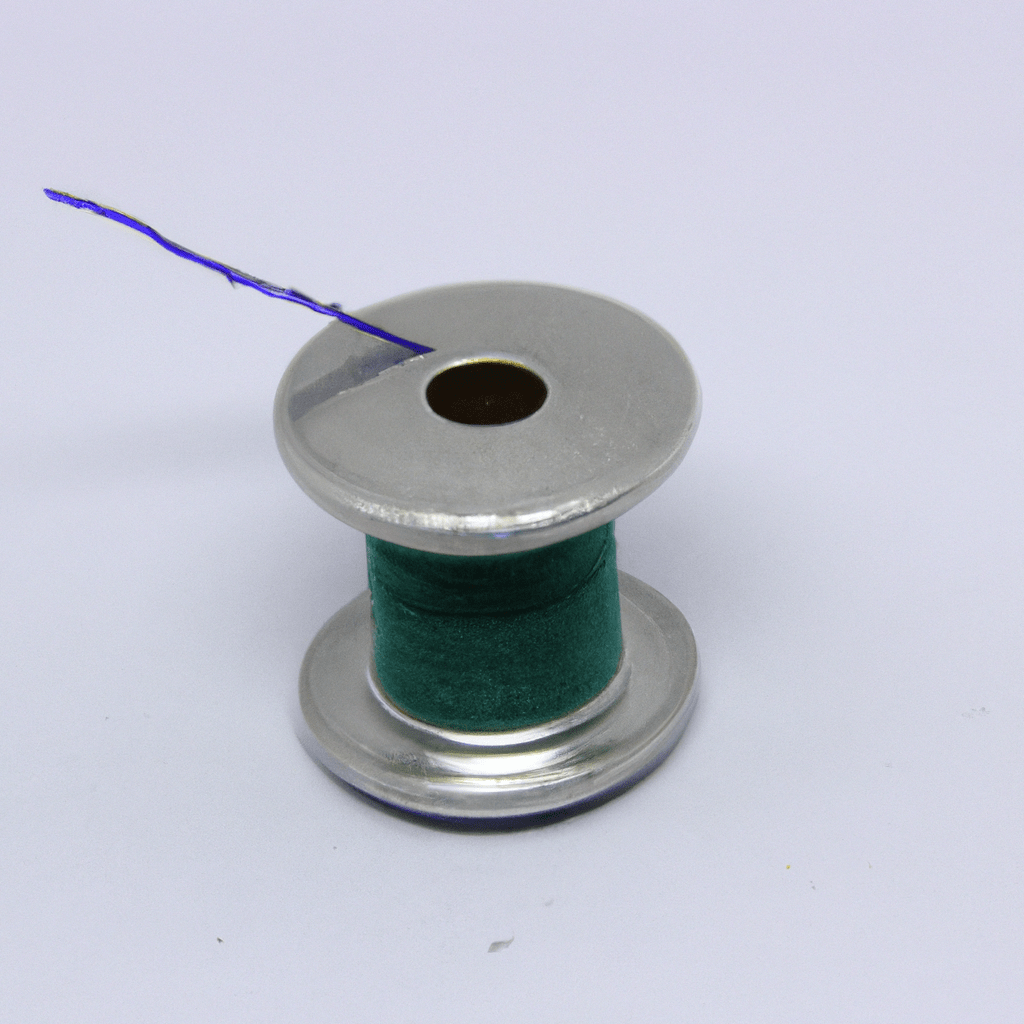
- Fill the bobbin case with enough high-quality thread to complete your project. You can either cut off a length of thread that matches your project or use one of those spools with built-in guides.
- Place the right side of the fabric facing up on your work surface and spread it out as much as possible. Make sure there are no wrinkles or creases in the fabric.
- Open the top cover of the machine and locate where you would like to place the needle (usually just behind where you want the sewn line to start). Push down on the button at this point so that it clicks into position—this will keep the motor from turning while we stitch. Remove any excess fabric from around where you plan to place the needle by pulling gently on both edges of the fabric together until there is only 1/4″ (6 mm) left protruding from the machine. This “bobbin threading” will help keep your stitches even and prevents the fabric from slipping.
- Center the bobbin on top of the protruding thread, making sure that it’s lined up correctly in the hole in the top cover. Make sure that the needle is positioned where you want it to be before closing the cover. If your machine has a front-loading spool holder, make sure that the bobbin is facing forward so that you can easily remove it later.
- Push down on the button at this point to start your sewing machine. As you sew, hold onto both sides of the fabric and guide the needle through it, coming out on the other side. Be careful not to pull too hard on the fabric or you may cause stitches to puck out (this is especially important when using a lightweight cotton or linen fabric).
- Once you’ve sewn your entire project, carefully remove the bobbin by pressing down on its button and pulling it out of the machine. You can then reinsert a new bobbin and continue sewing!
Tips for Threading a Bobbin Brother:
If you’ve ever had trouble threading a bobbin on a Brother machine, follow these tips:
- Check the orientation of the needle. The needle should be pointing down, toward the bottom of the bobbin case. If it’s not, turn it until it is.
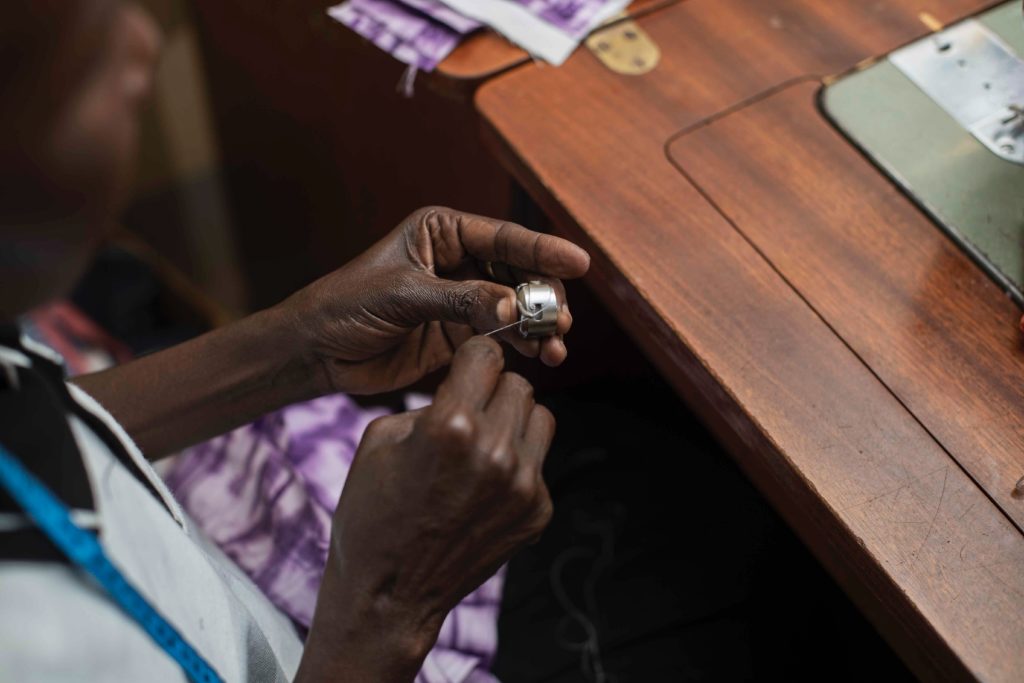
- Hold the thread firmly in your left hand and place the bobbin case in your right hand. So that the thread is hanging down between your thumb and first 2 fingers (or 1 finger if you’re left-handed). Push down on the top of the bobbin case with your right thumb to pop it open.
- Hold the end of the thread in your left hand and guide it into one of the two eyelets closest to you on either side of the bobbin case (the ones nearest to where you are holding the bobbin). Make sure that as you insert the thread into each eyelet. It’s taut so that when you pull it out, there’s no slack in it.
- With your left hand still holding onto the end of the thread. Carefully close up both eyelets by pushing down from above with your forefinger and thumb (or by using a tool such as a small screwdriver if they’re stubborn). Be careful not to pinch or stretch the thread. Just close them up gently enough so that they’re held together by friction.
- Now repeat steps 3-4 for each remaining eyelet on either side of the bobbin case.
- Hold the thread in your left hand and tug gently on it. Make sure that it’s all neatly threaded through the machine. If there are any knots or tangles, gently work them out with your fingers.
- Push down on the top of the bobbin case to snap it closed and start sewing!
How To Thread The Bobbin on a Brother Sewing Machine?
If you have a Brother Sewing Machine, and you are not familiar with how to thread the bobbin. Here is a step-by-step guide on how to do it:
- First, locate the “thread guide” (or “thread catcher”) on your machine. It will typically be located near the top of the machine.
- Next, thread the end of your bobbin through the hole in the thread guide and pull it tight. You may need to use a small screwdriver to help push the end of the bobbin down. So it is fully inserted into the hole.
- Be sure not to twist or kink the thread while doing this!
- Now, reach up and grab onto the top of your spool of fabric with one hand. Hold down your fabric with your other hand. Carefully lift up on your spool of fabric until it rebels against your grip and falls off (you can also use a helper if needed).
- Make sure you’re holding onto both ends of your spool of fabric at this point. Once it’s free from the sewing machine, release both ends simultaneously.
- Finally, remove any excess thread from around your bobbin by pulling gently on both ends until they start to come loose (don’t tug too hard or you will damage your machine!). Once all of the excess thread has been removed. Reattach your newly threaded bobbin by pushing it down into place through its hole in the machine, and pulling it tight.

Conclusion
Threading a bobbin brother can be daunting, but with this ultimate guide, you will be able to thread any machine in no time! With the right tools and some practice, you will be able to get the job done quickly and without any frustration. Threading a bobbin brother is not as difficult as it seems and with our guide by your side, you will have everything you need to make it a breeze. Thanks for reading!
FAQS
How To Put The Bobbin In Brother Sewing Machine?
To insert the bobbin into a Brother sewing machine, follow these steps:
- Remove the bobbin case cover.
- Place the bobbin on the spindle.
- Hold the thread tail and turn the bobbin to wind the thread clockwise.
- Place the bobbin case back into the machine and pull the thread through the slot and tension discs.
What Is Brother Sewing Machine Bobbin Size?
Bobbin size for Brother sewing machines varies, but common sizes are Class 15 (metric size A) and Class 66 (metric size L). Check the manual or machine specifications to confirm the correct bobbin size for your model.
[…] solutions involve adjusting the tension wheel or replacing the shuttle bobbin case. If your sewing machine is not functioning properly, make sure to troubleshoot the shuttle as […]
[…] been installed correctly and securely according to the manufacturer’s instructions. Secondly, thread some lightweight fabric through the needle and slowly run the sewing machine in order to check for […]
[…] Thread To Sse With Minky Fabric: Best Threads and Needles for Minky […]